Process
Hey all, I’d like to share a little behind the scenes about my concept process. Of course, every project is different and has different goals, but this is one example from my personal work that I am excited to talk about!
The Kernel
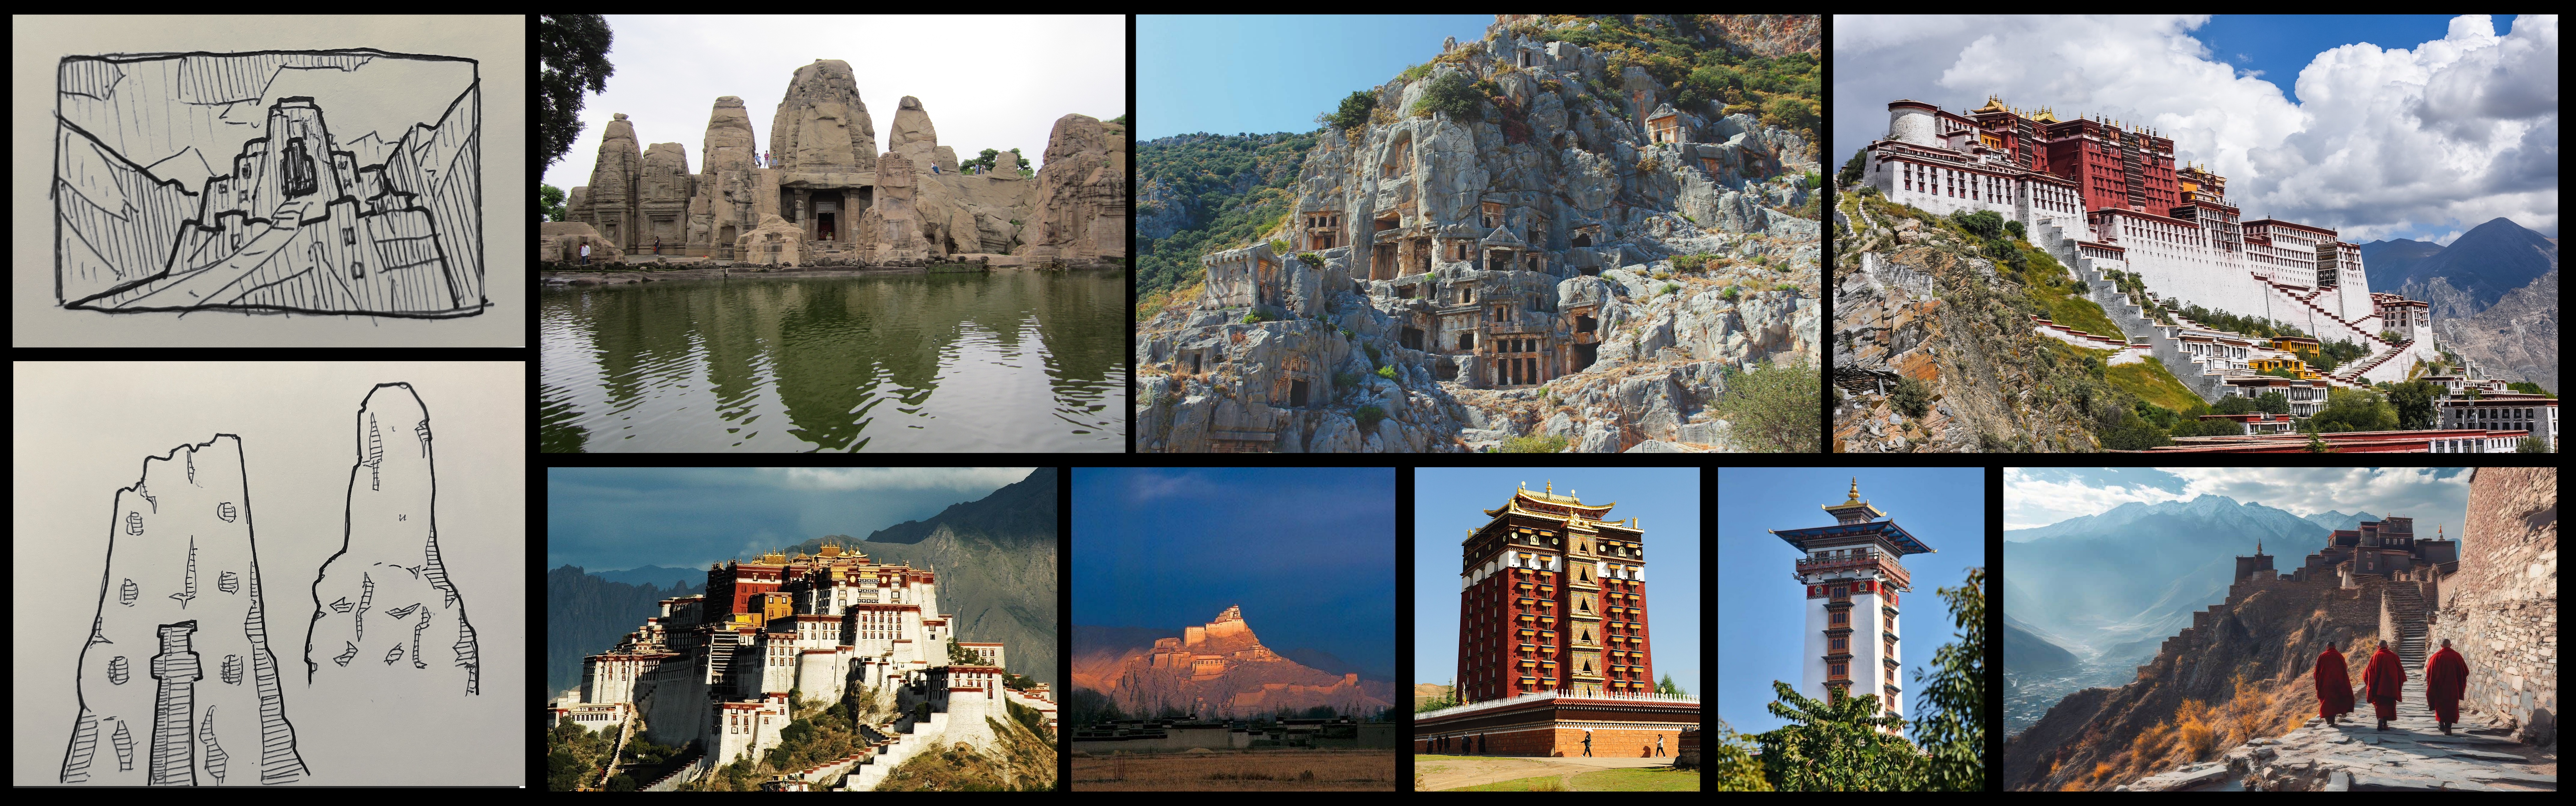
Perhaps the most nebulous phase of any concept art project, the kernel is the spark that fuels the imagination engine and inspires action. It can stem from any sector of life experience; a piece of reference, a movie, a travel memory, any theme or emotion that beckons exploration.
In this example I wanted to explore a society that revolved around a mythical bird deity. What would be an interesting architectural formula to depict this world? What can I pull from real life to make this feel like a believable place? Eager to find answers, I started exploring different types of temples from around the world.
The Sketch
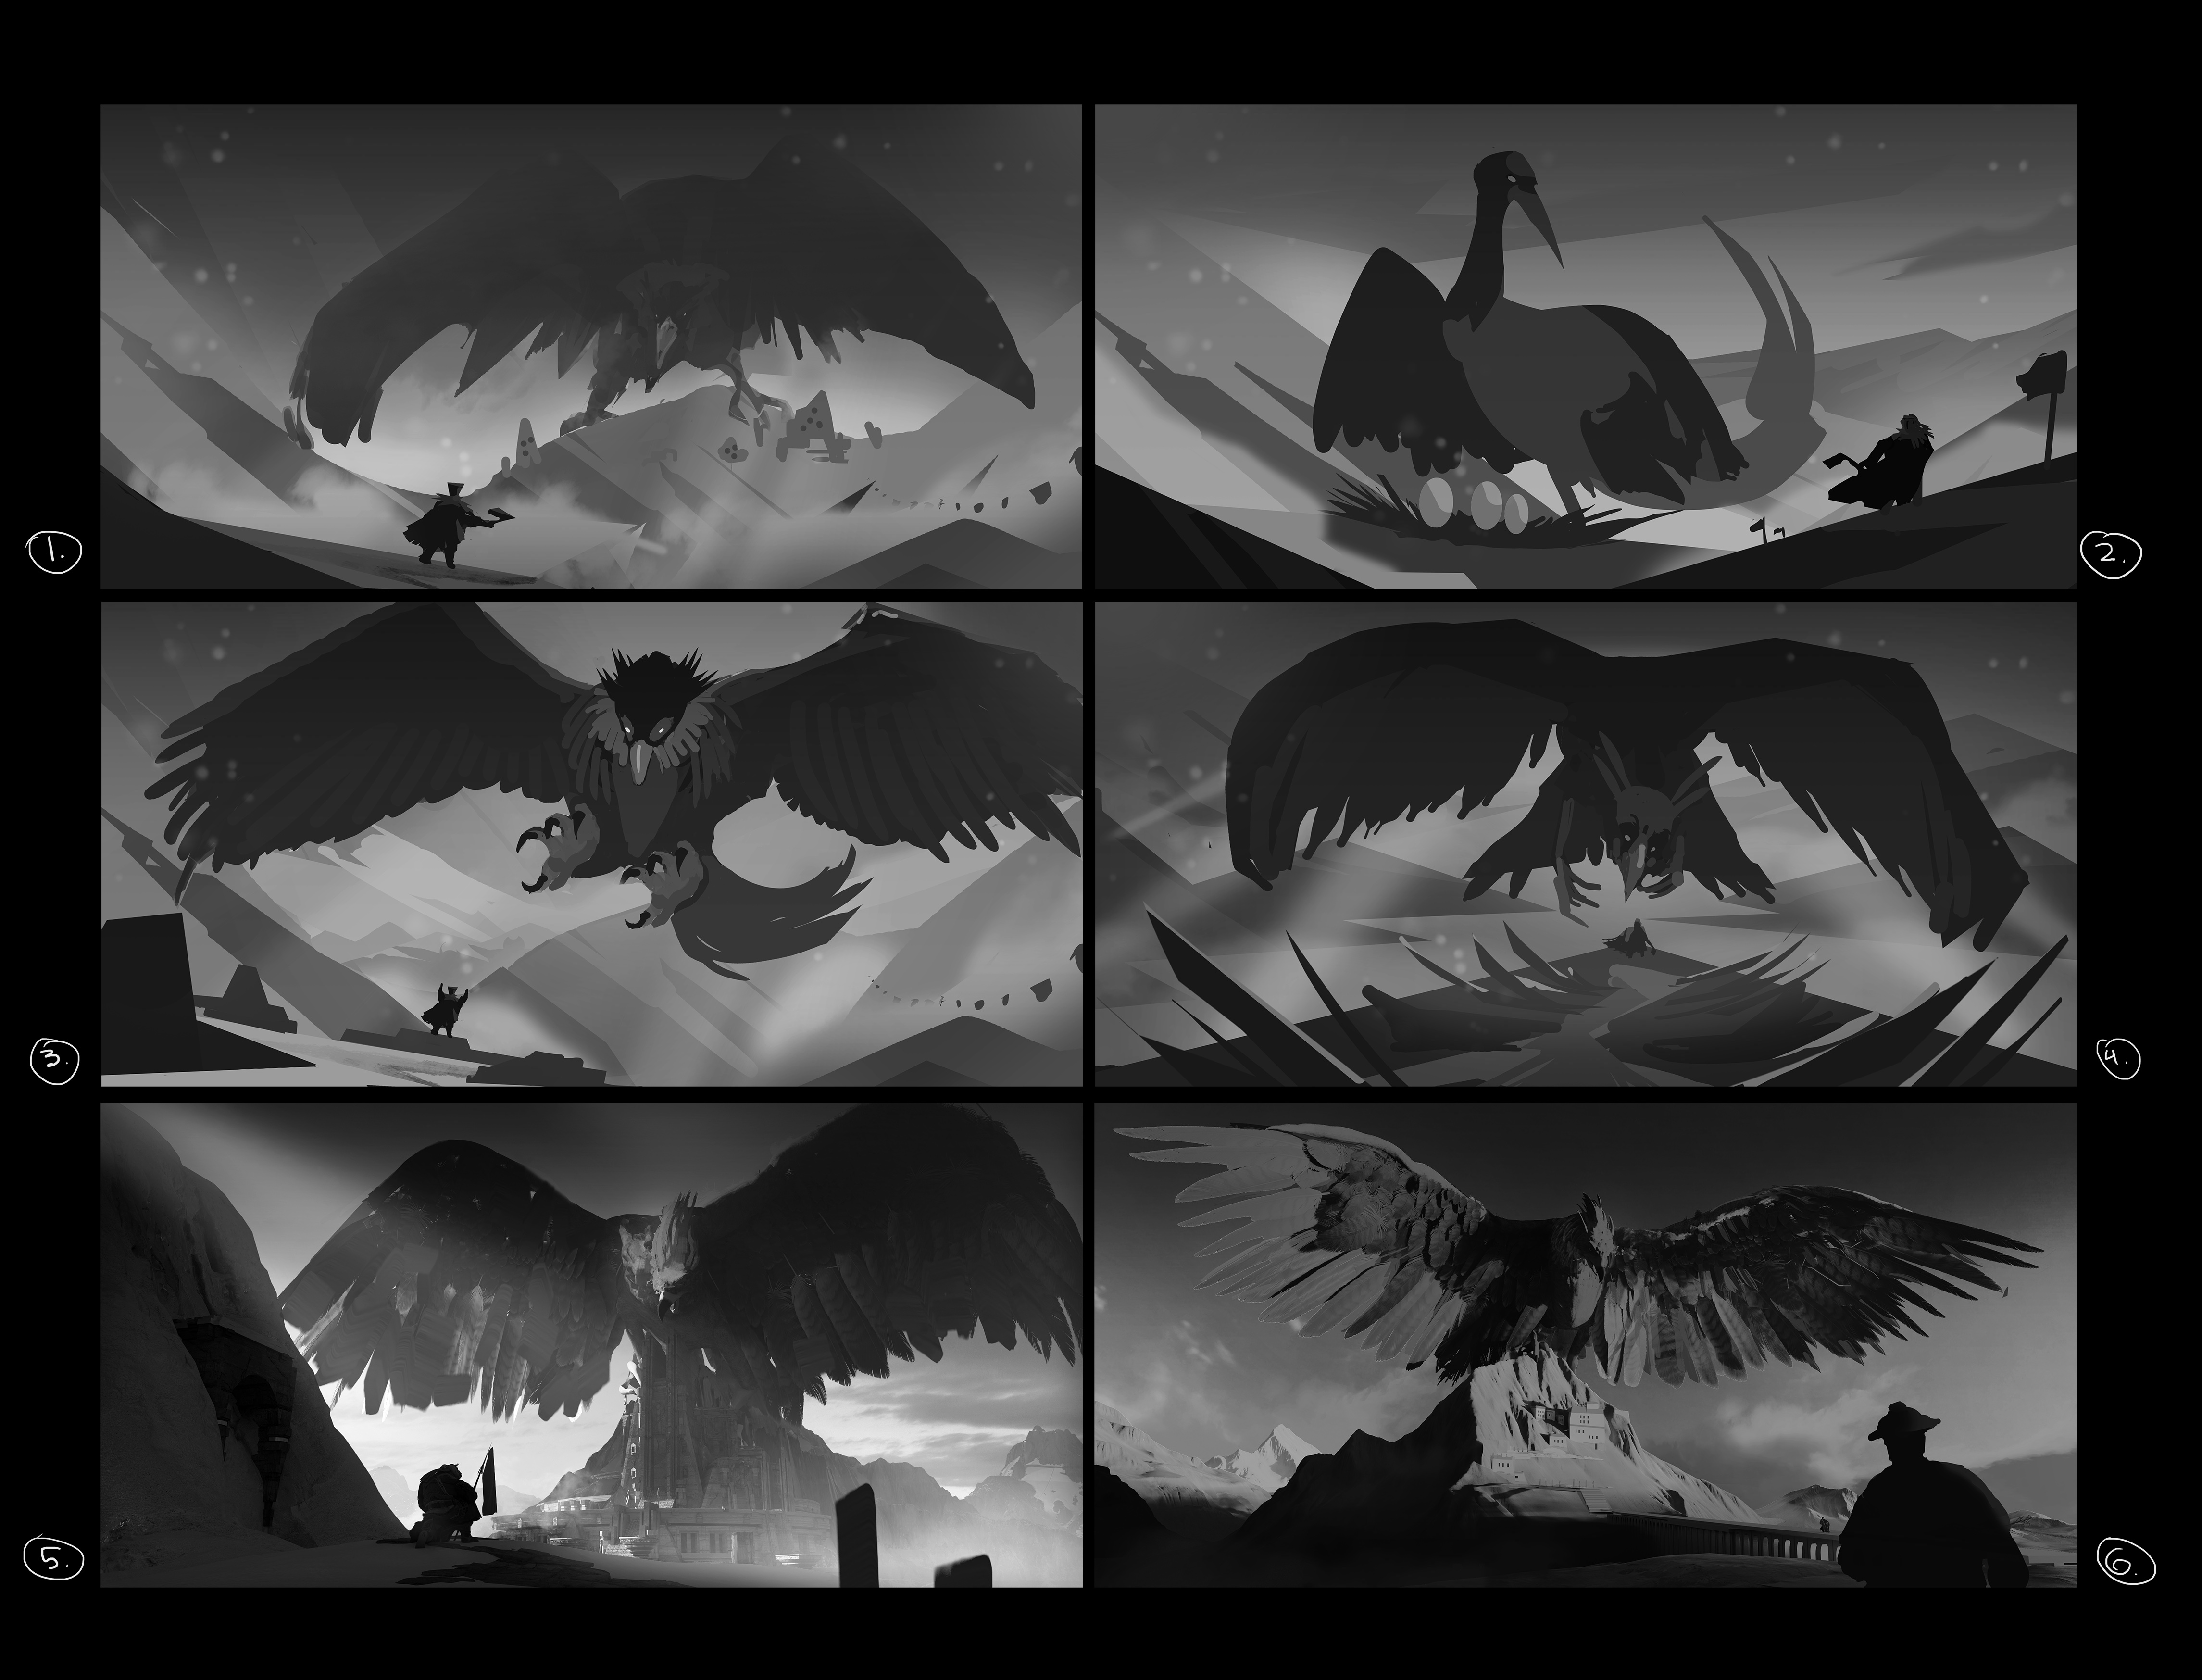
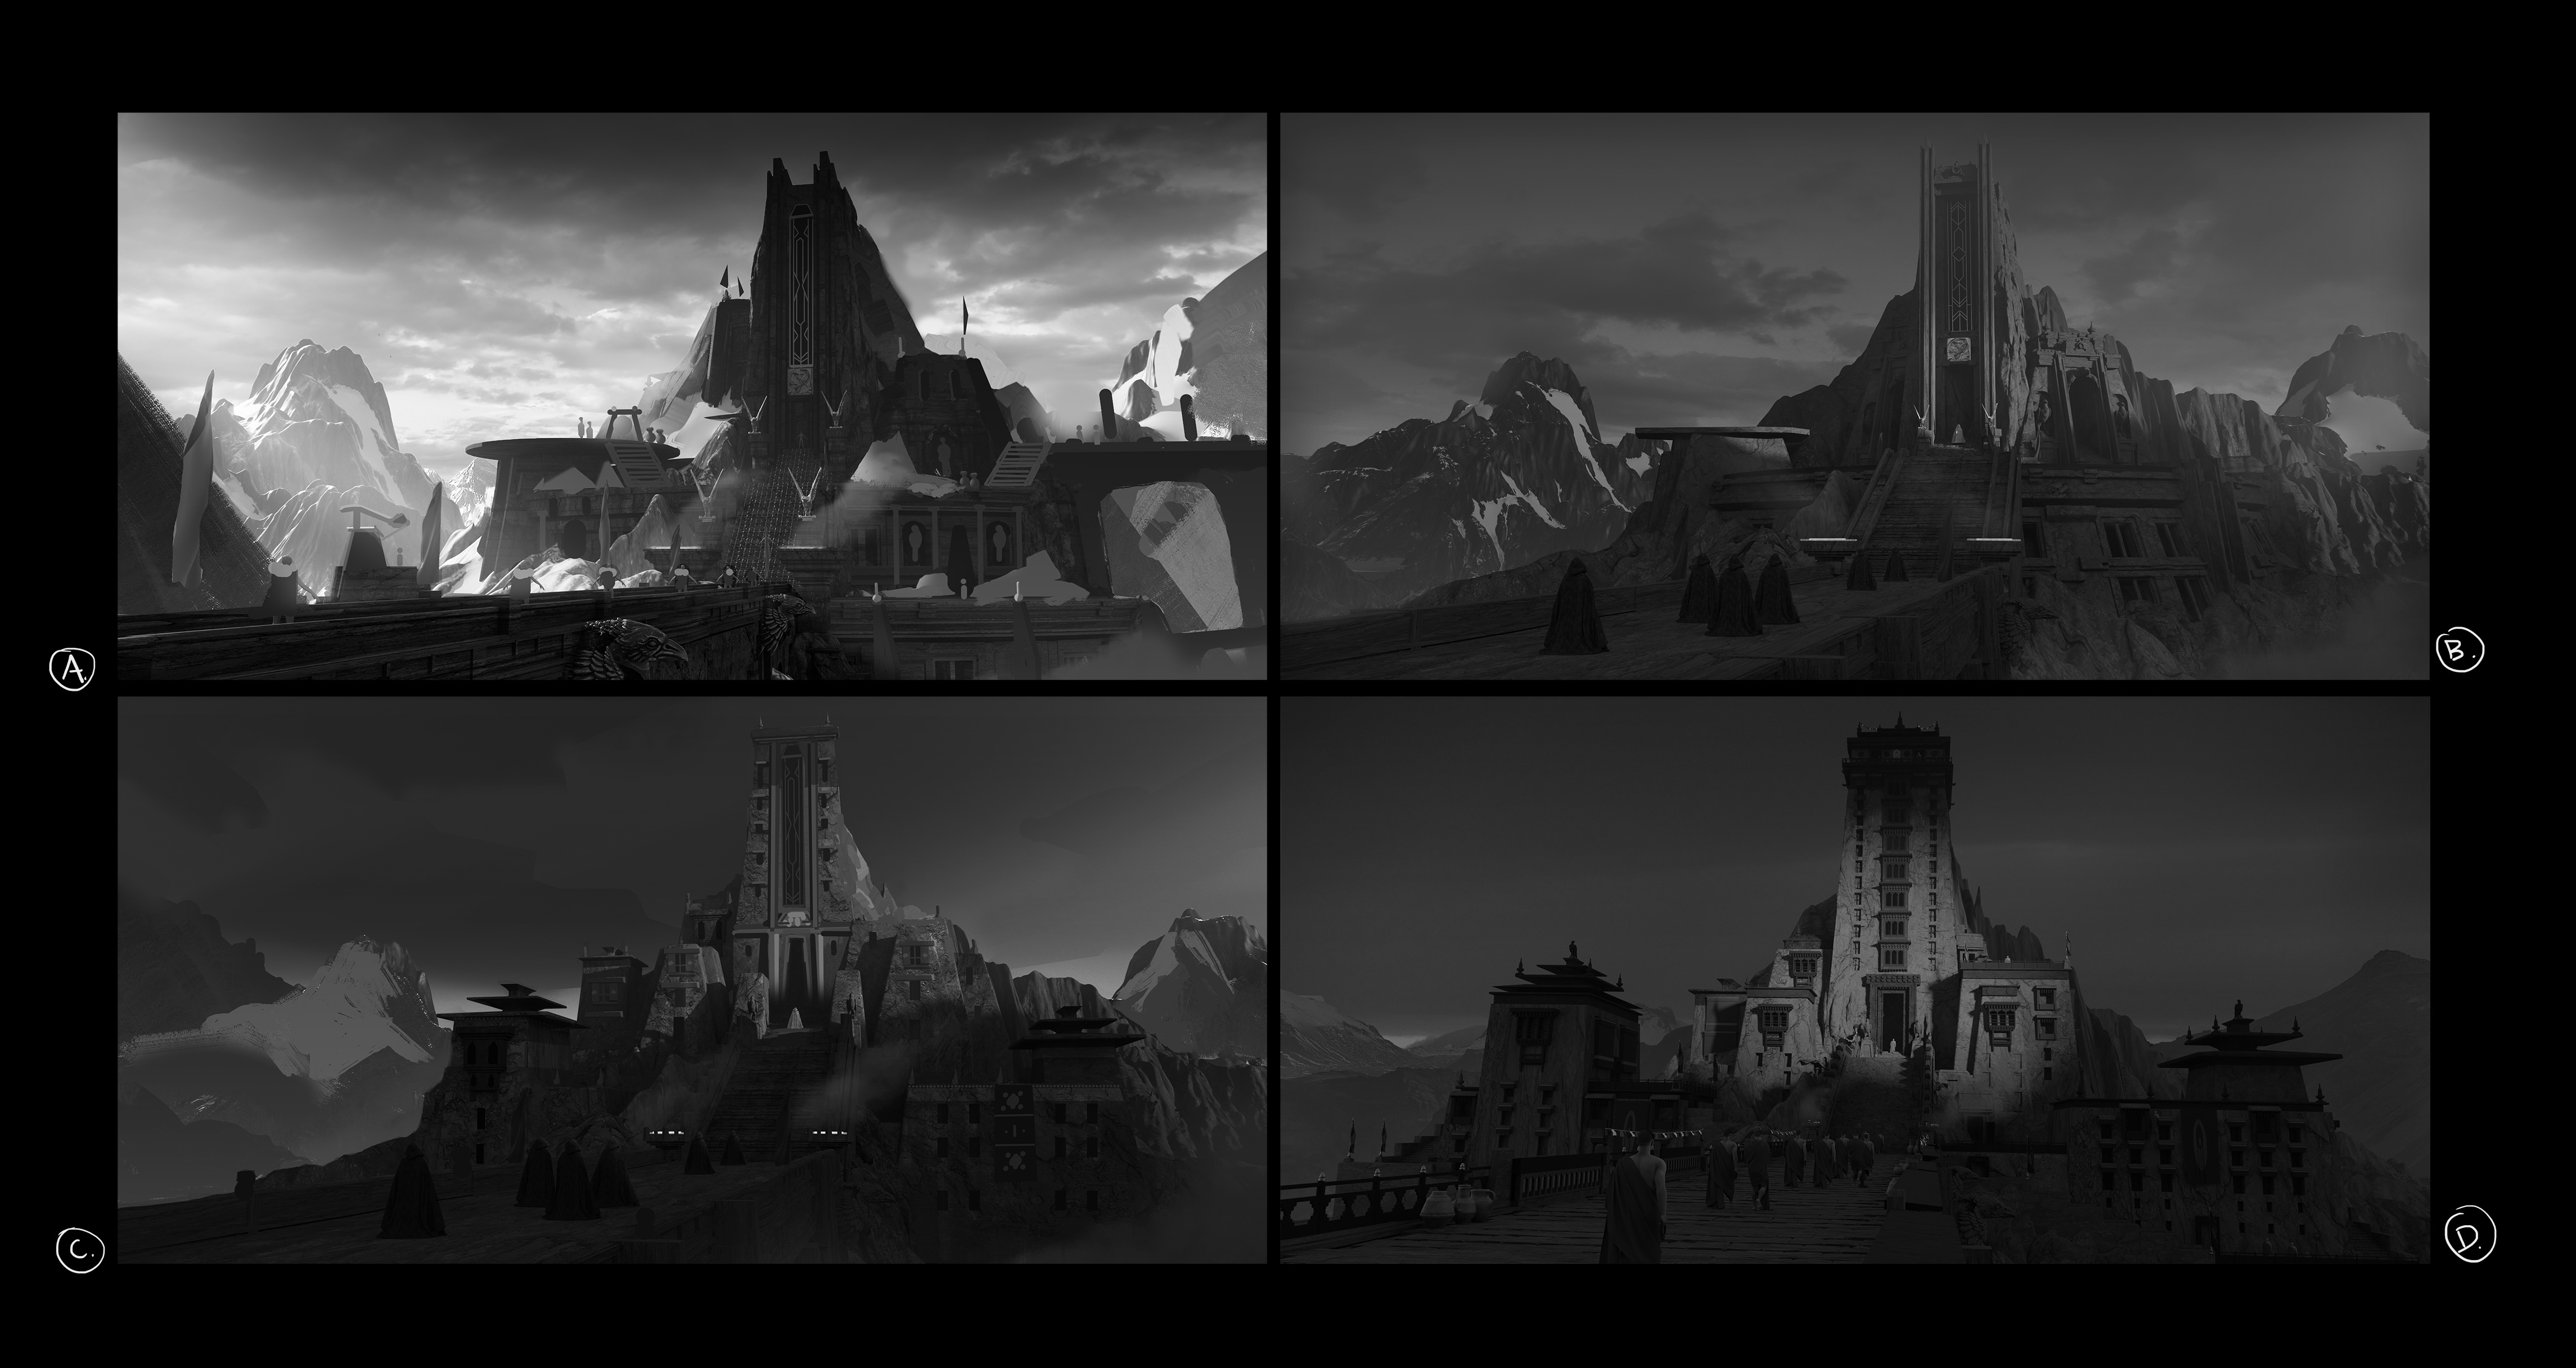
The sketch phase is an answer to vet the excitement of the research phase. It’s the call to action to get ideas onto the page in an easily digestible way. The big reads, the graphic gestalt.
In this example I explored a few different types of architectural styles. I also tried a version that was more focused on the creature design of the legendary bird. Eventually I became entranced with different types of rock-cut temples, especially the shapes of the Masrur temples in India. I also went down a rabbit hole of Tibetan monasteries and felt like it would be an interesting twist to remix both styles of architecture which already shared similar shapes.
3D Block-Out
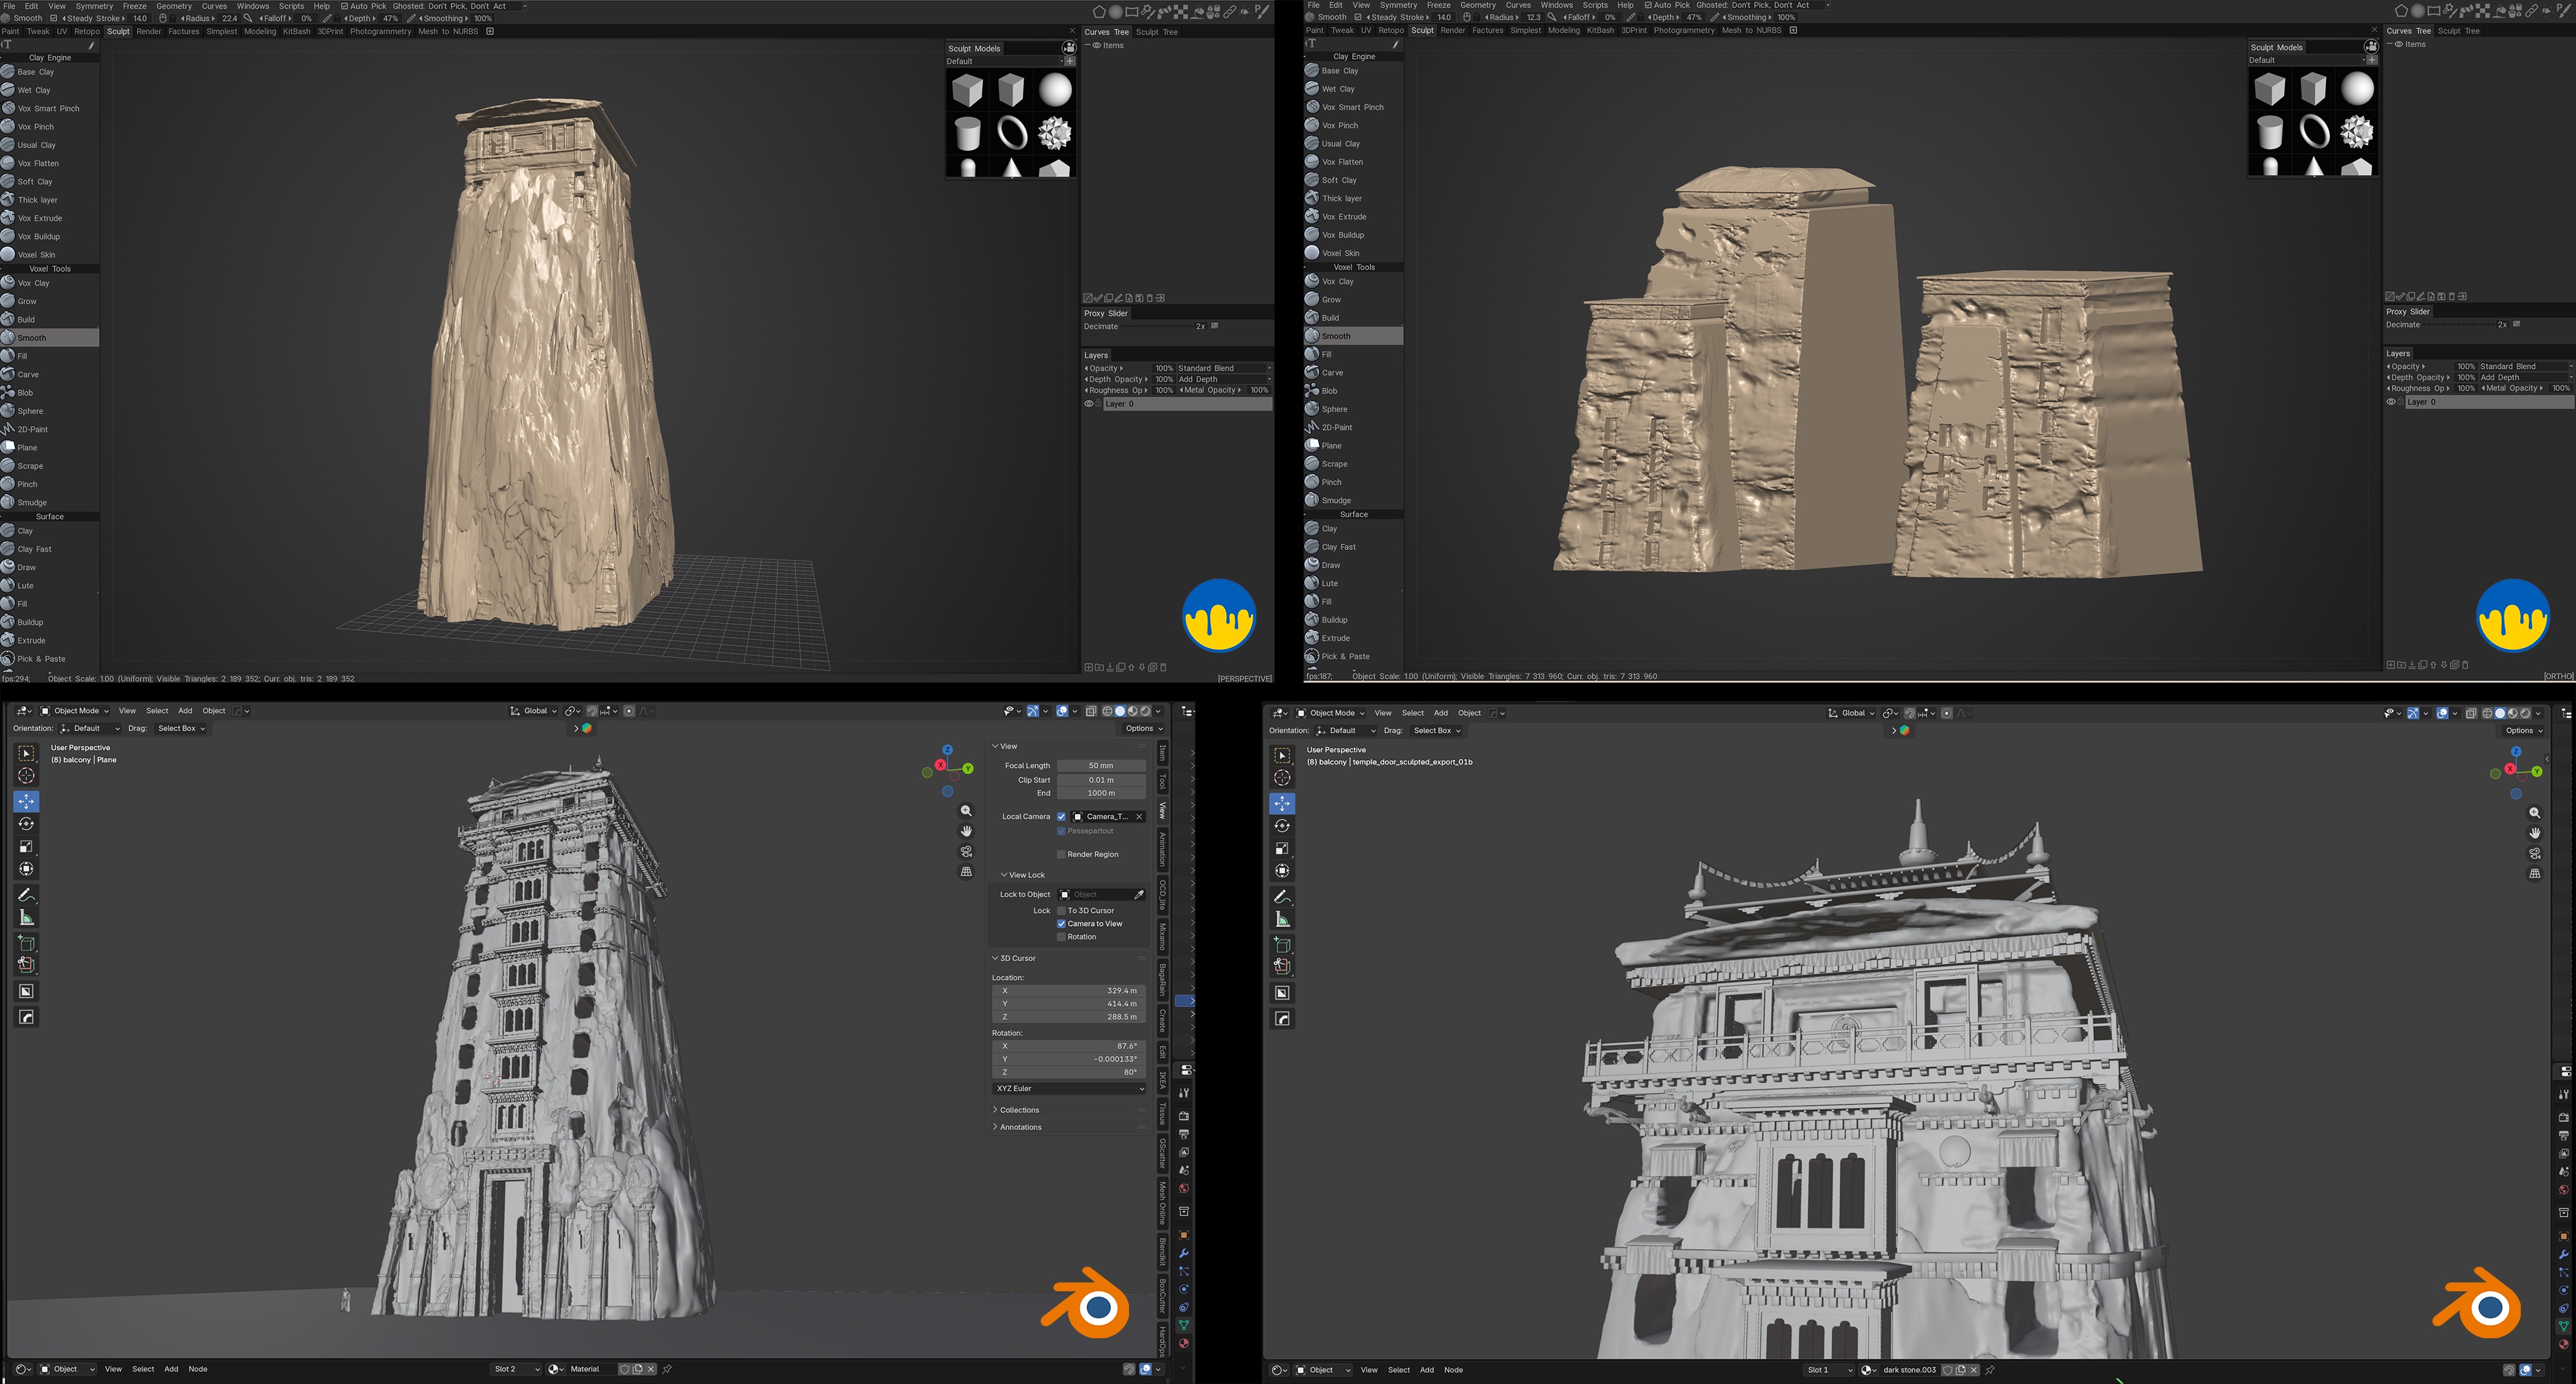
With a sketch in tow that I was happy with, I started to explore in 3D. My primary tool here is Blender. Similar to the philosophy behind sketching, I’m starting with the largest and simplest shapes first. The goal is to match the magic of the sketch while also testing that the design still works in 3D. Lighting, mood and scale are paramount after blocking out the composition. Once everything is reading in the simplest terms, it’s time to refine further.
In this project, because it’s so architectural, and the idea hinges on a rock-cut temple, I took my blender blockout into 3D Coat to sculpt the rock forms and give the temple more dimension. The main goal here is just to break up the blockiness and introduce some imperfections to the forms. I’m not getting carried away and trying to make final high-poly assets. I then imported these pieces back into blender and started to boolean out the shapes for the windows and doors. Due to the complex nature of the scene I had a separate Blender file where all the temple kit pieces lived. I then streamed them into the main scene by using blender’s append feature. Using instances instead of dogpiling the geometry into one scene helped me save on rendering.
The Render
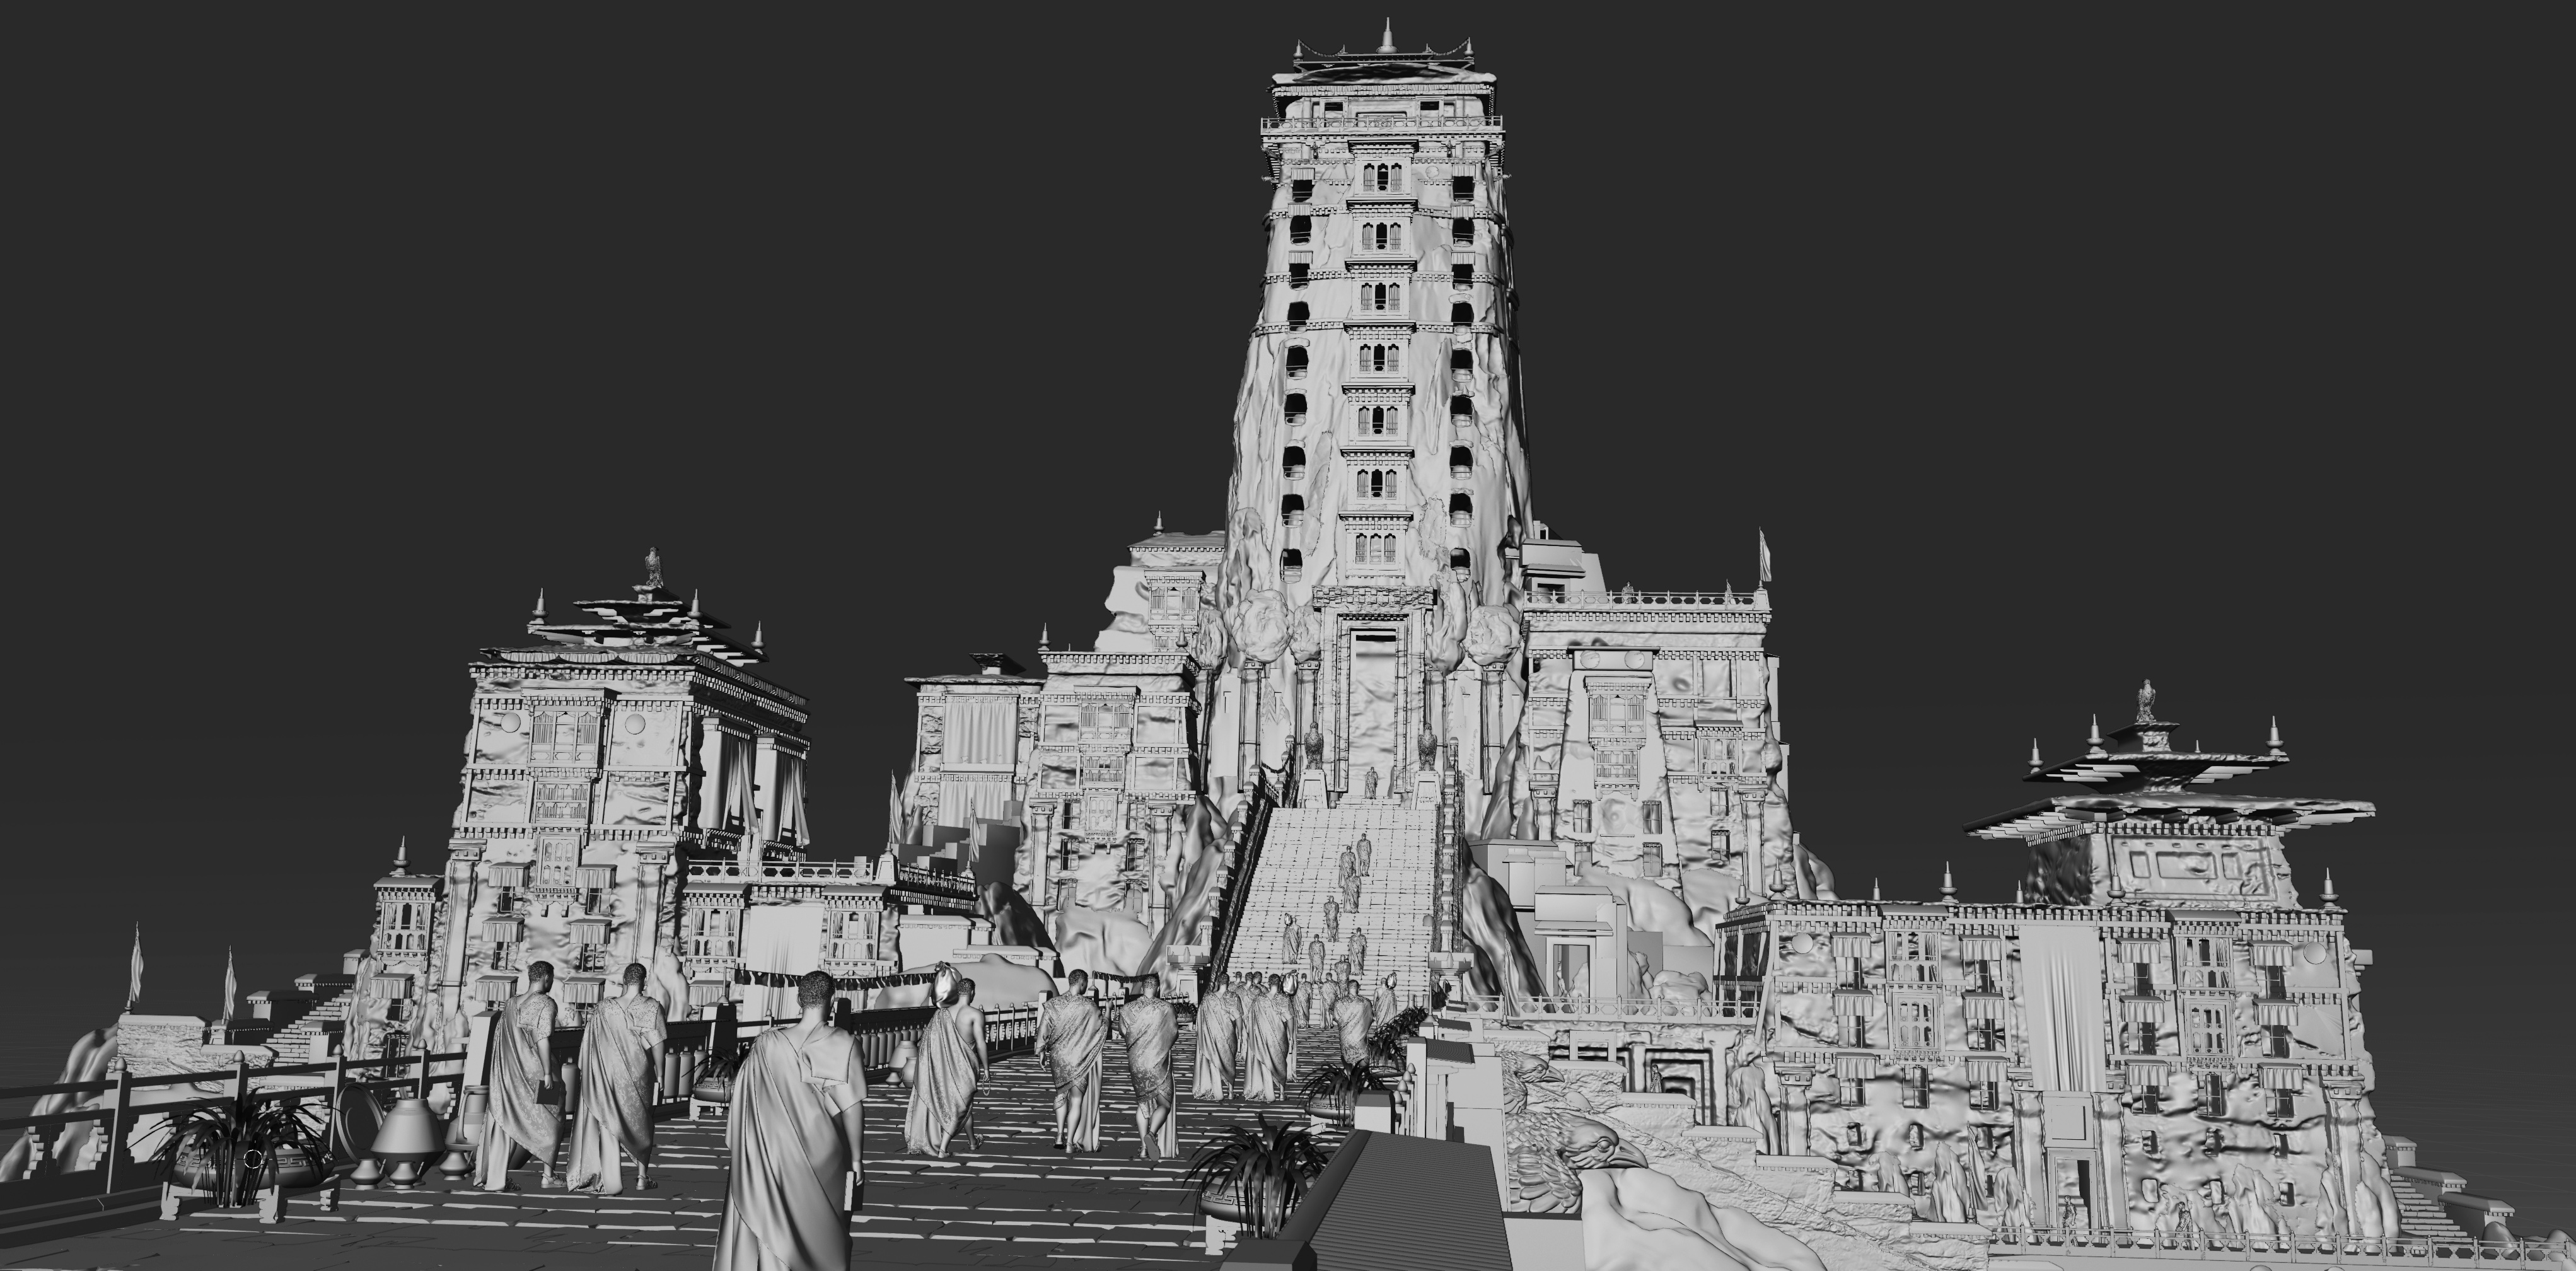
Now that I’ve established the big reads in 3D it’s time to start adding a second pass of detail. This includes dialing in the lighting, adding textures, tweaking shaders and adding smaller pieces of set dressing. This is where I also start thinking of vignettes of visual storytelling, anything I can add that implies more about the world.
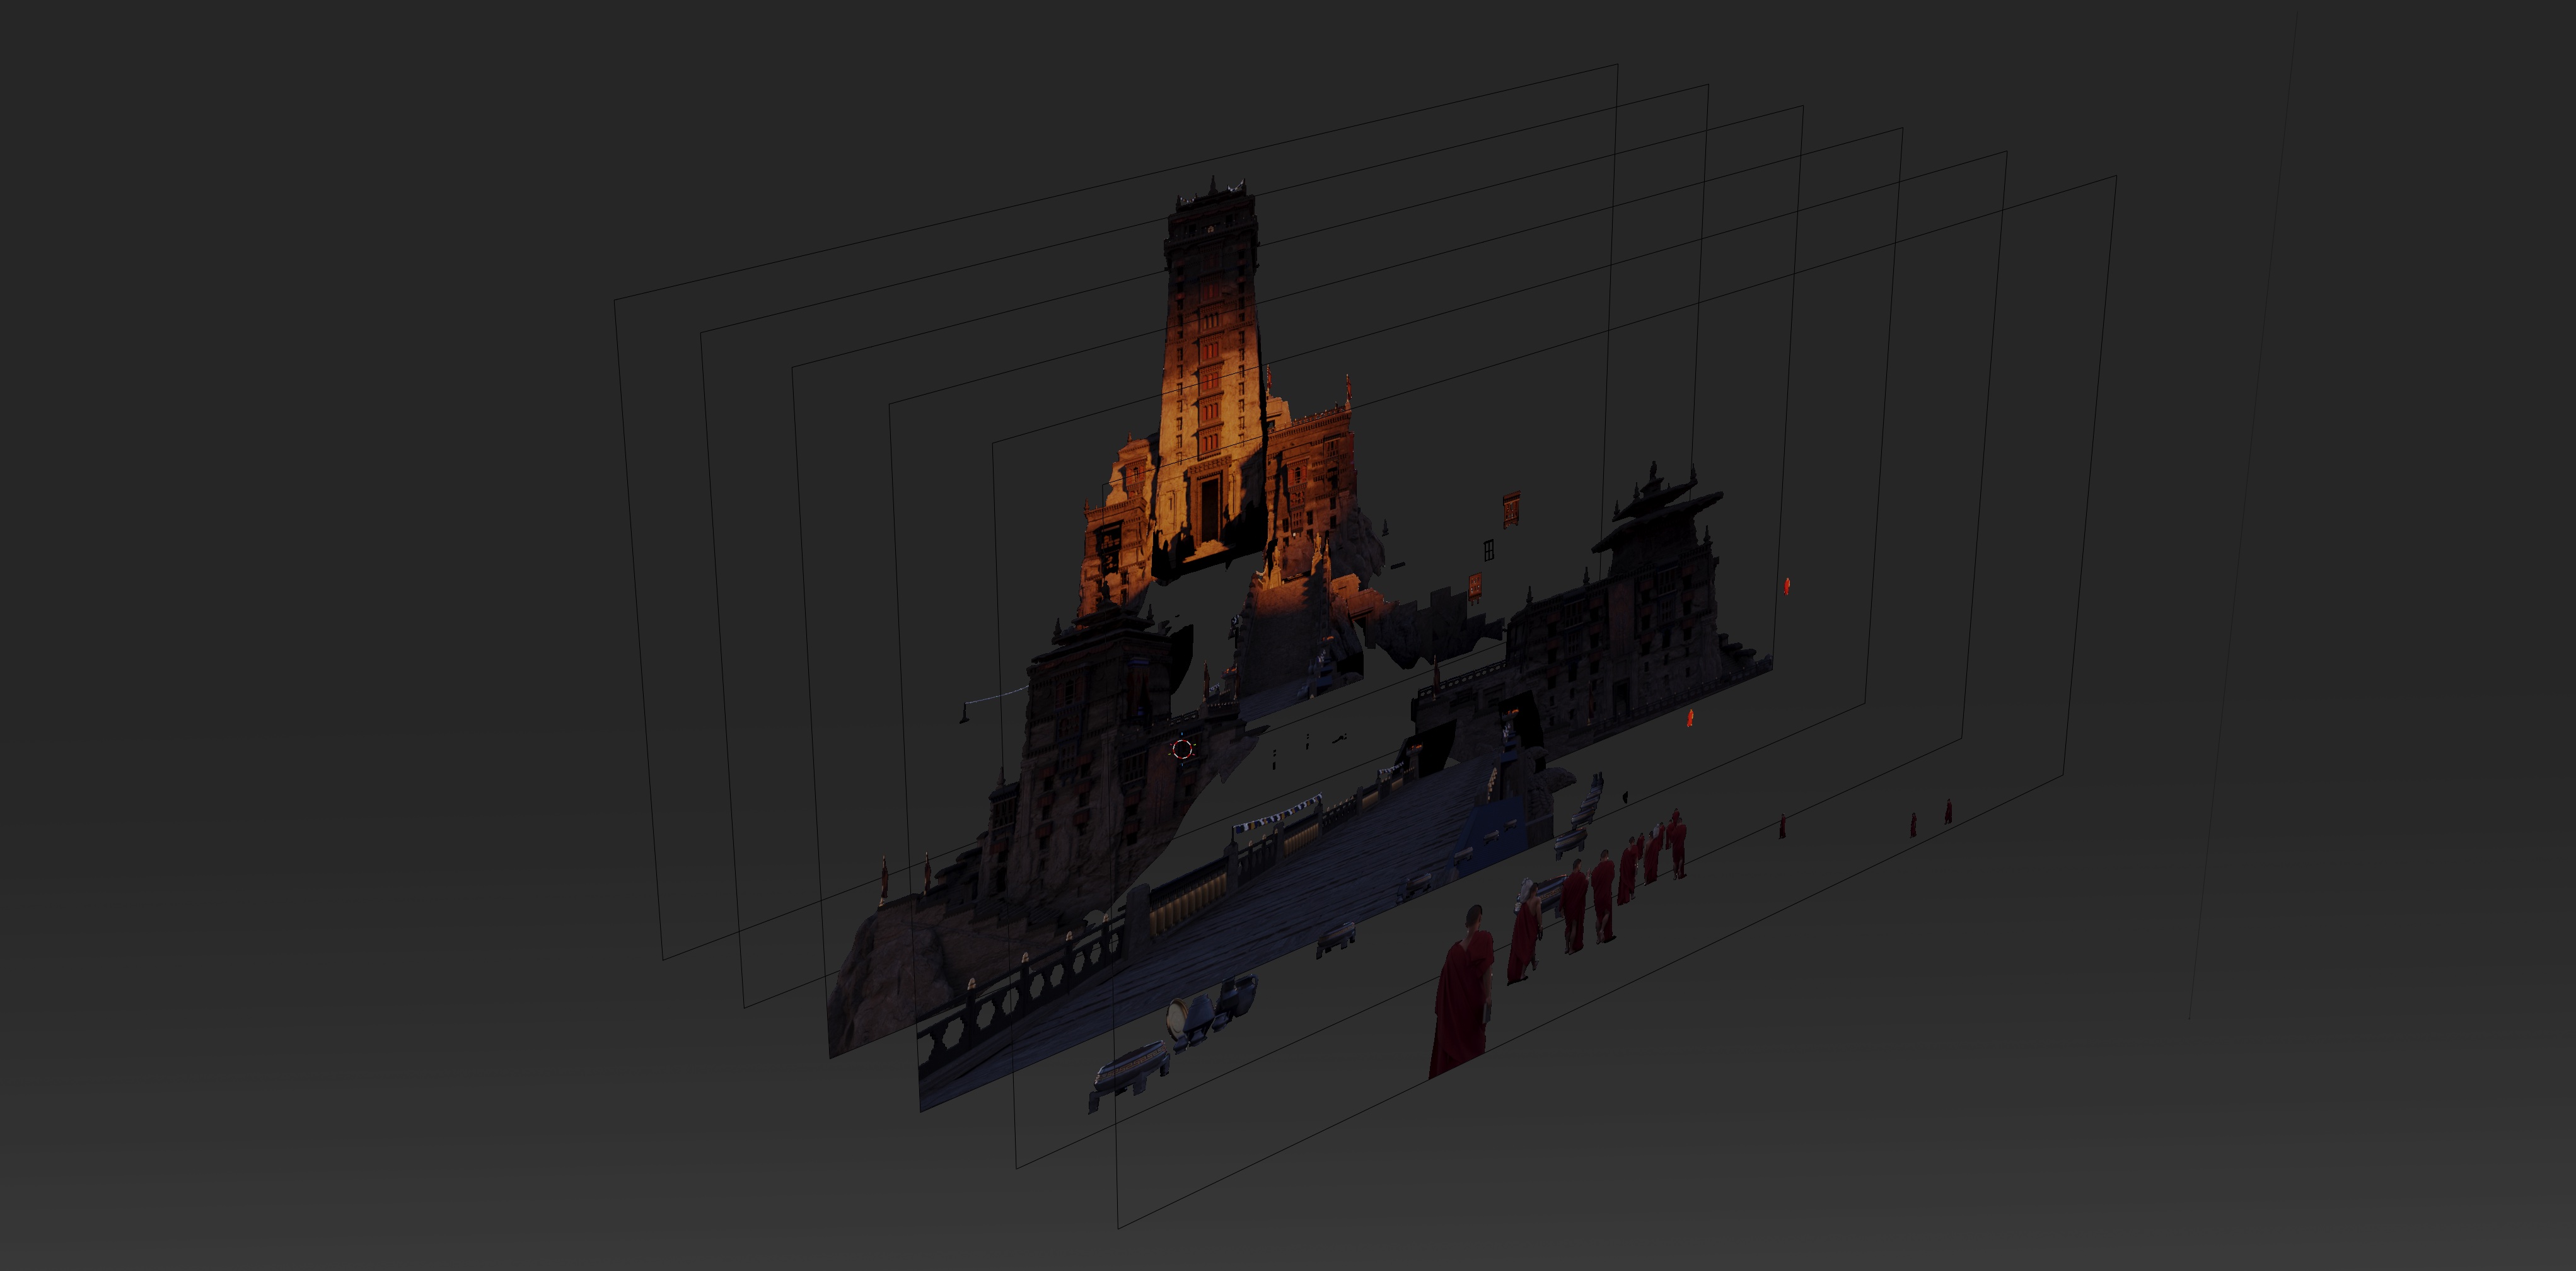
Throughout this process I will fire off test renders and paint over them in photoshop to try out different ideas. Once I get the scene in a good spot, I’ll render each major section independently as its own layer along with different passes for lighting and material information. This gives me maximum flexibility when editing the artwork in the next phase.
Compositing
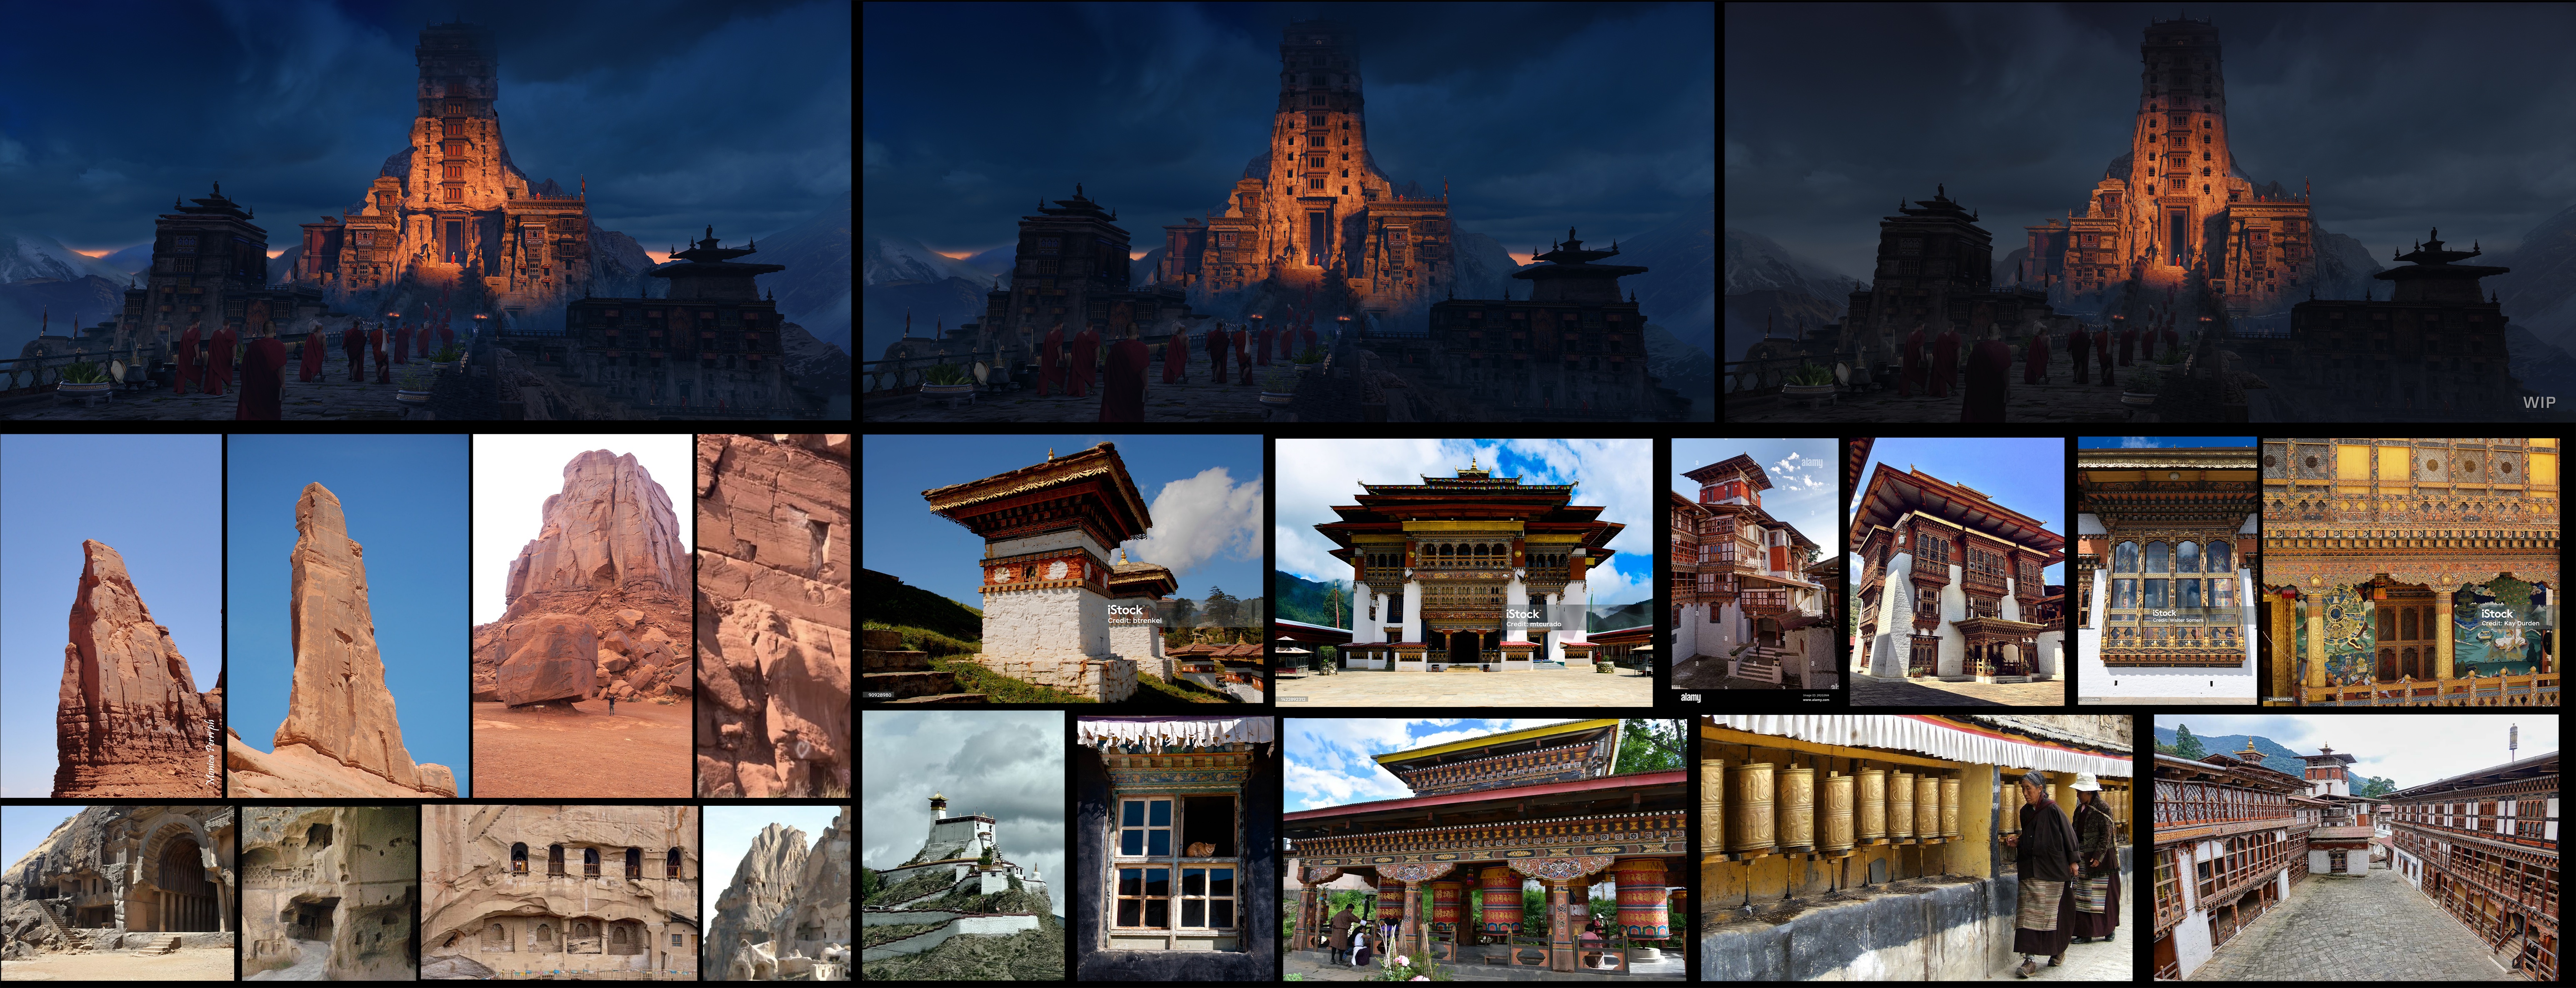
Once all the various render passes are situated it’s time to get back into photoshop. Using the 3D as a guideline, this is when I start working up and enhancing the 3D. I’m adding more detail, improving the lighting information and dialing in the values in accordance with the original sketch. I’m also photobashing in extra props as needed for storytelling.
Finalization
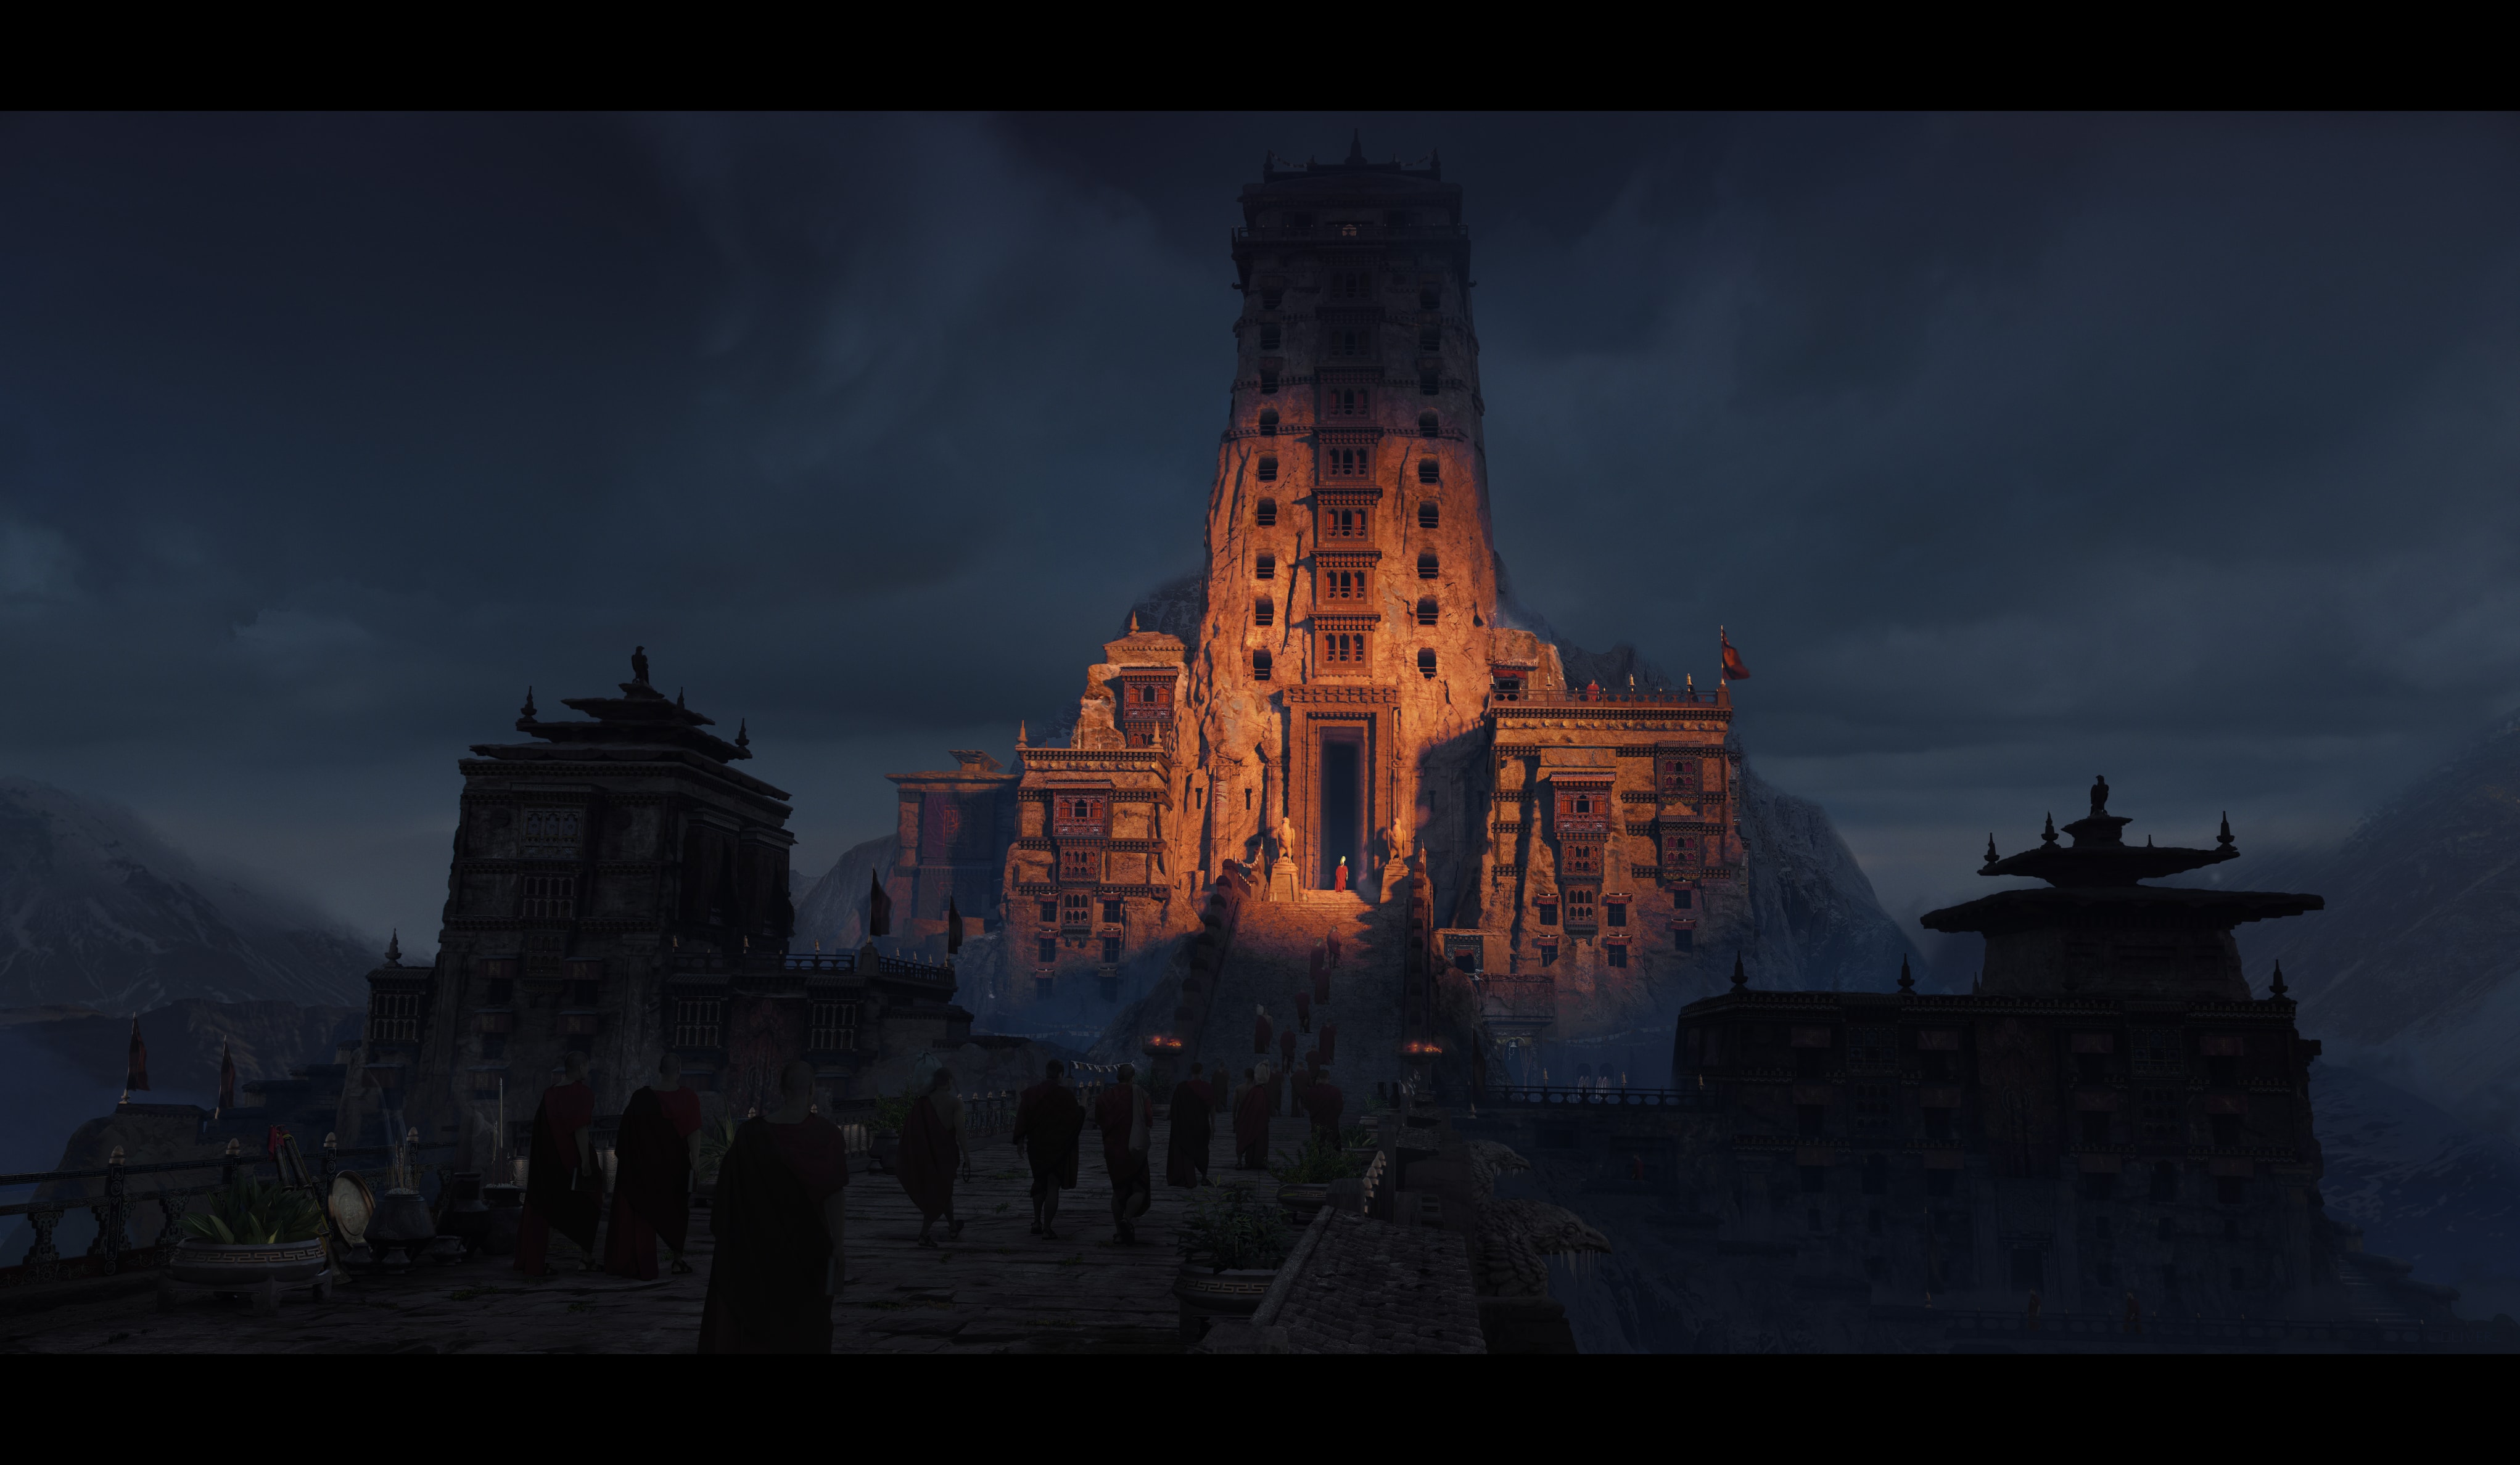
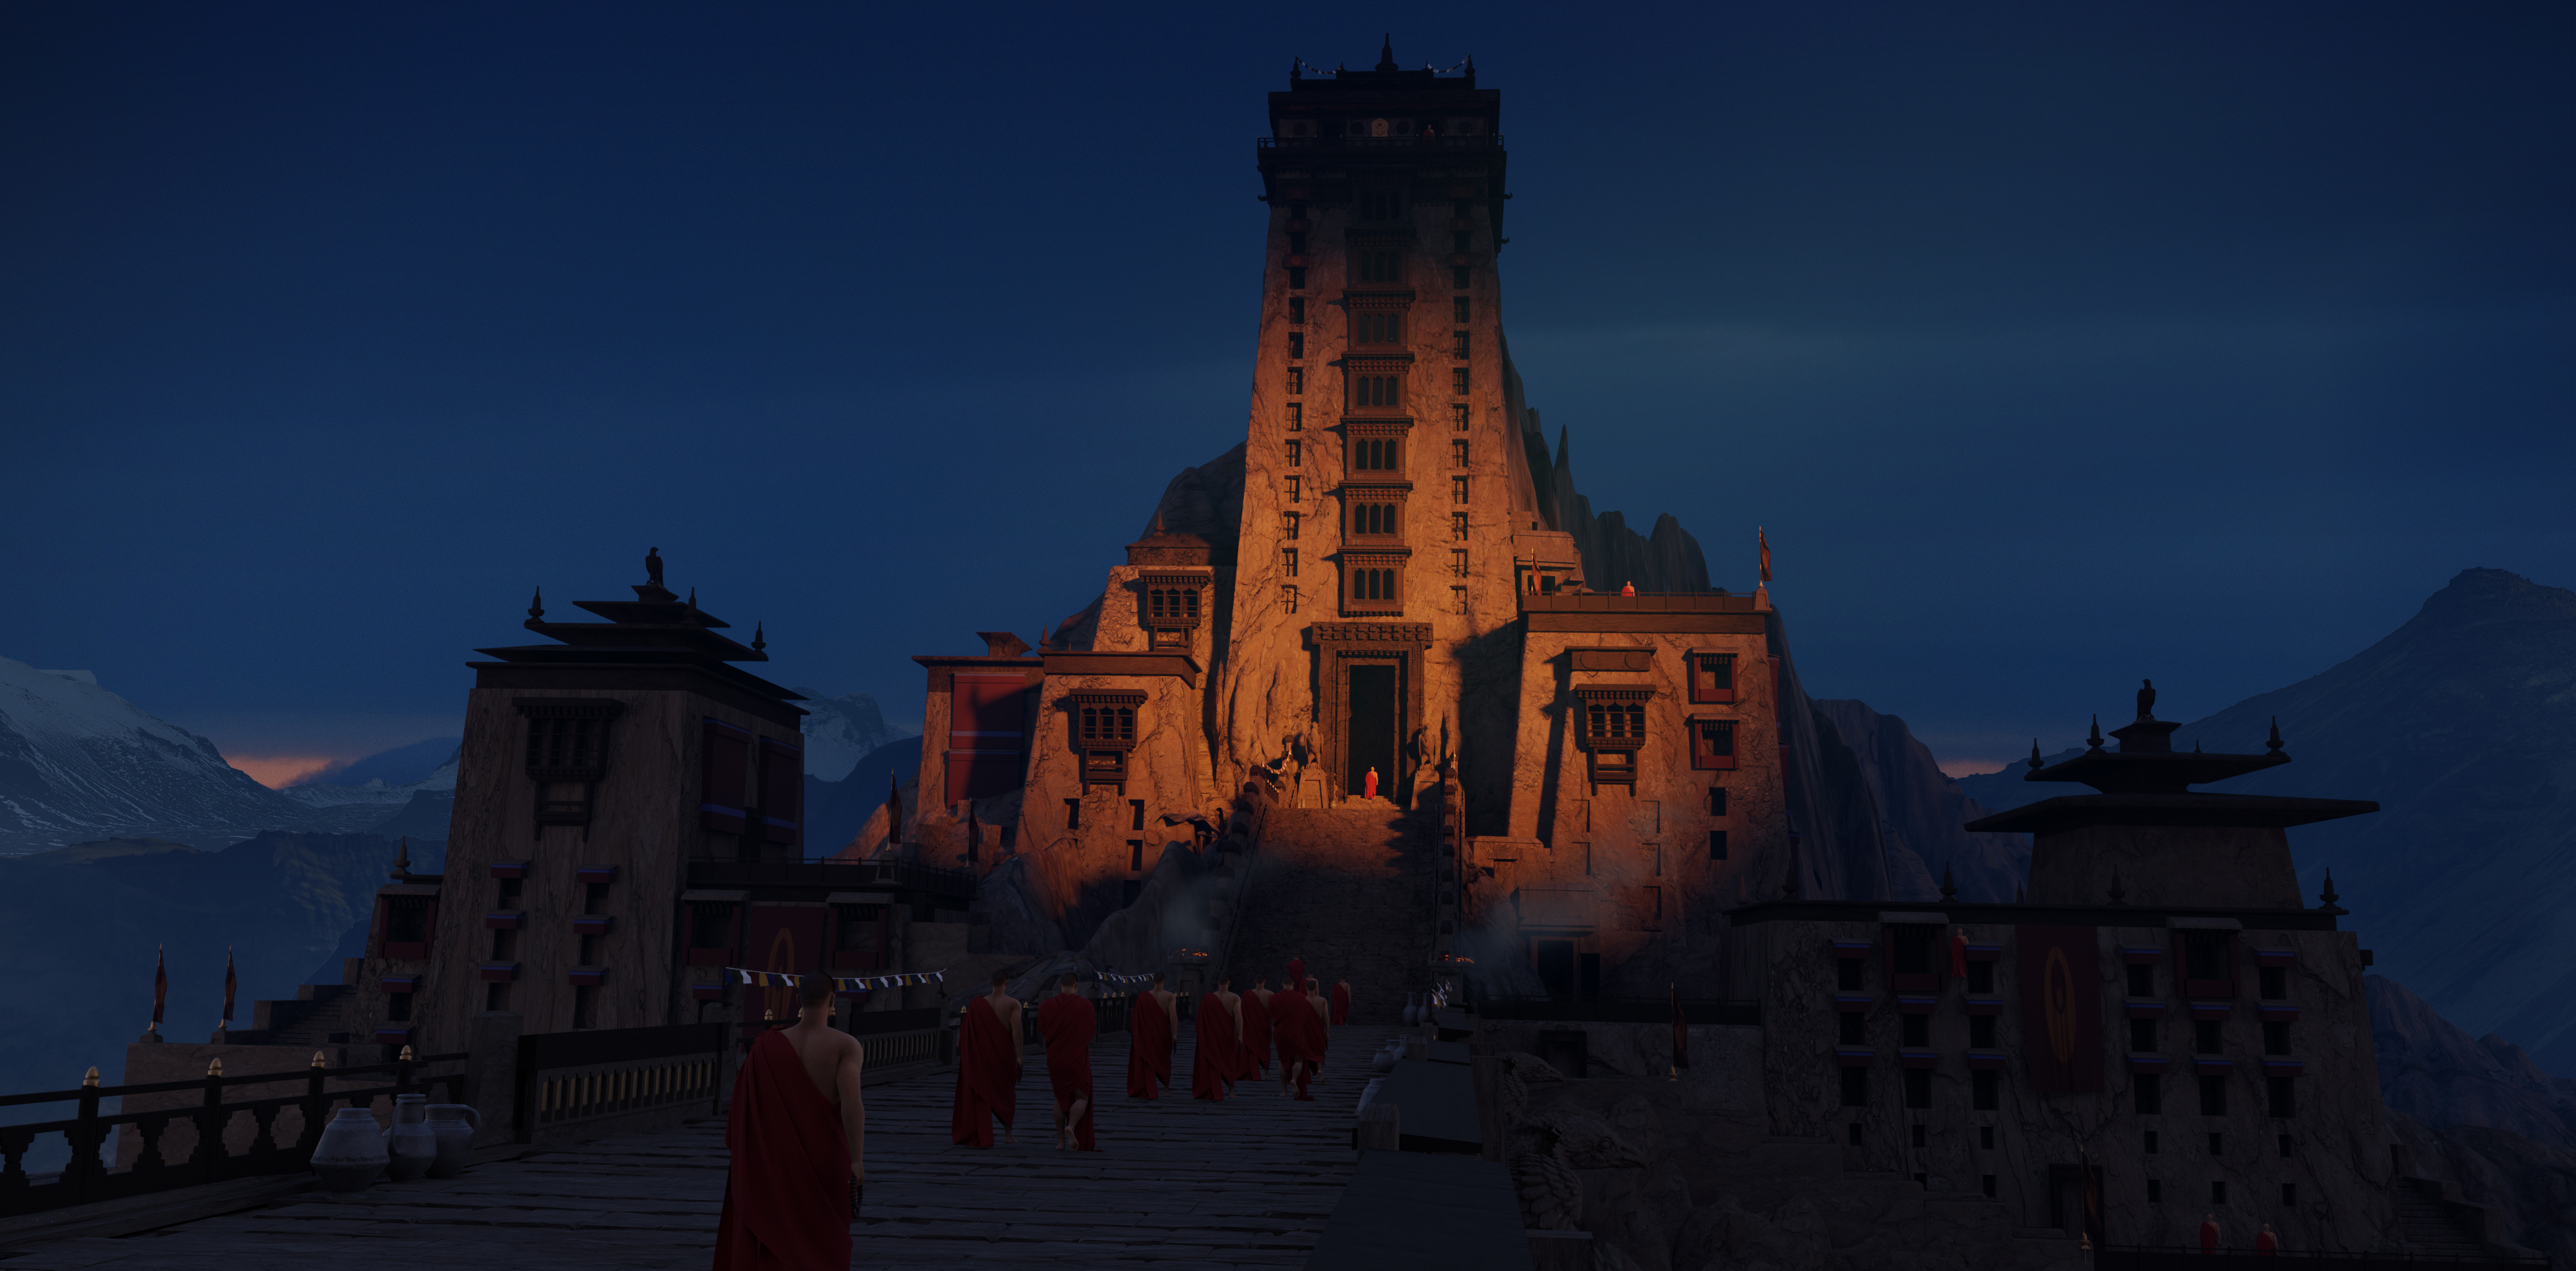
The final push to bring a concept to final can sometimes be the hardest part. This is when I’m constantly scanning the quadrants of the concept and looking for opportunities to enhance the focal point and the balance of details. I don’t want anything to distract the story I’m telling. I’ll knock back anything unneeded, making sure that each part of the concept has something interesting for the viewer to digest. Once it’s all working and satisfactory, I’ll dial in the color corrections and post processing using a single film still as a North Star to make informed decisions about color grading. Some film grain, black bars and a signature in the corner top it all off.
Presentation
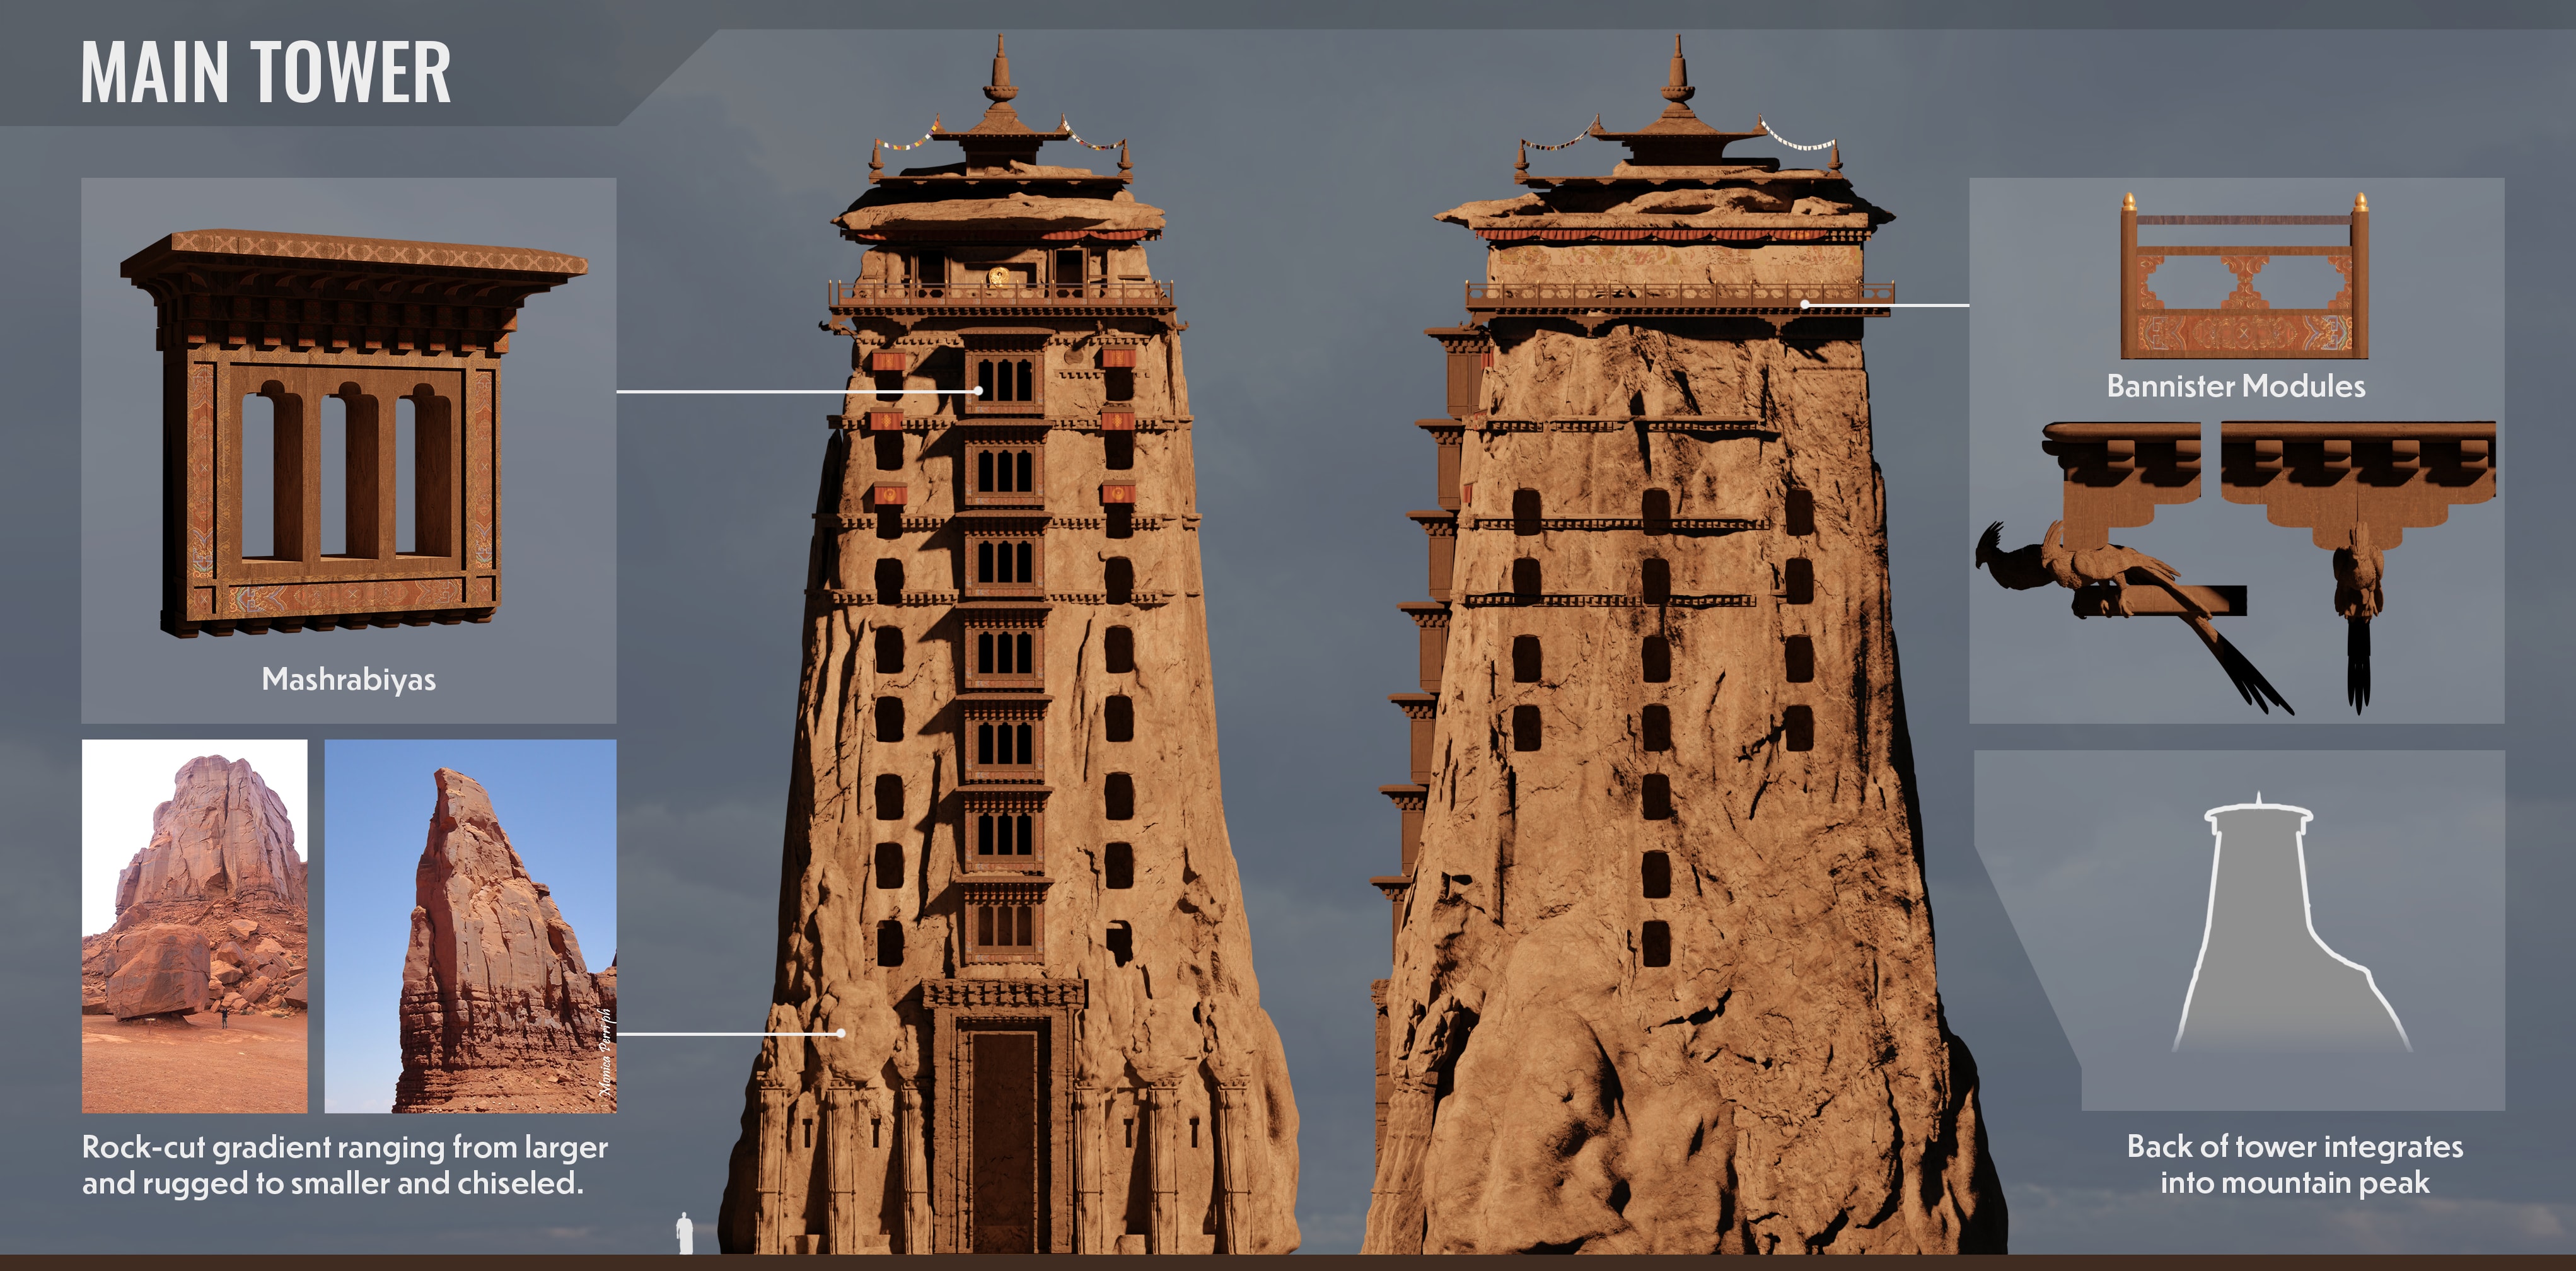
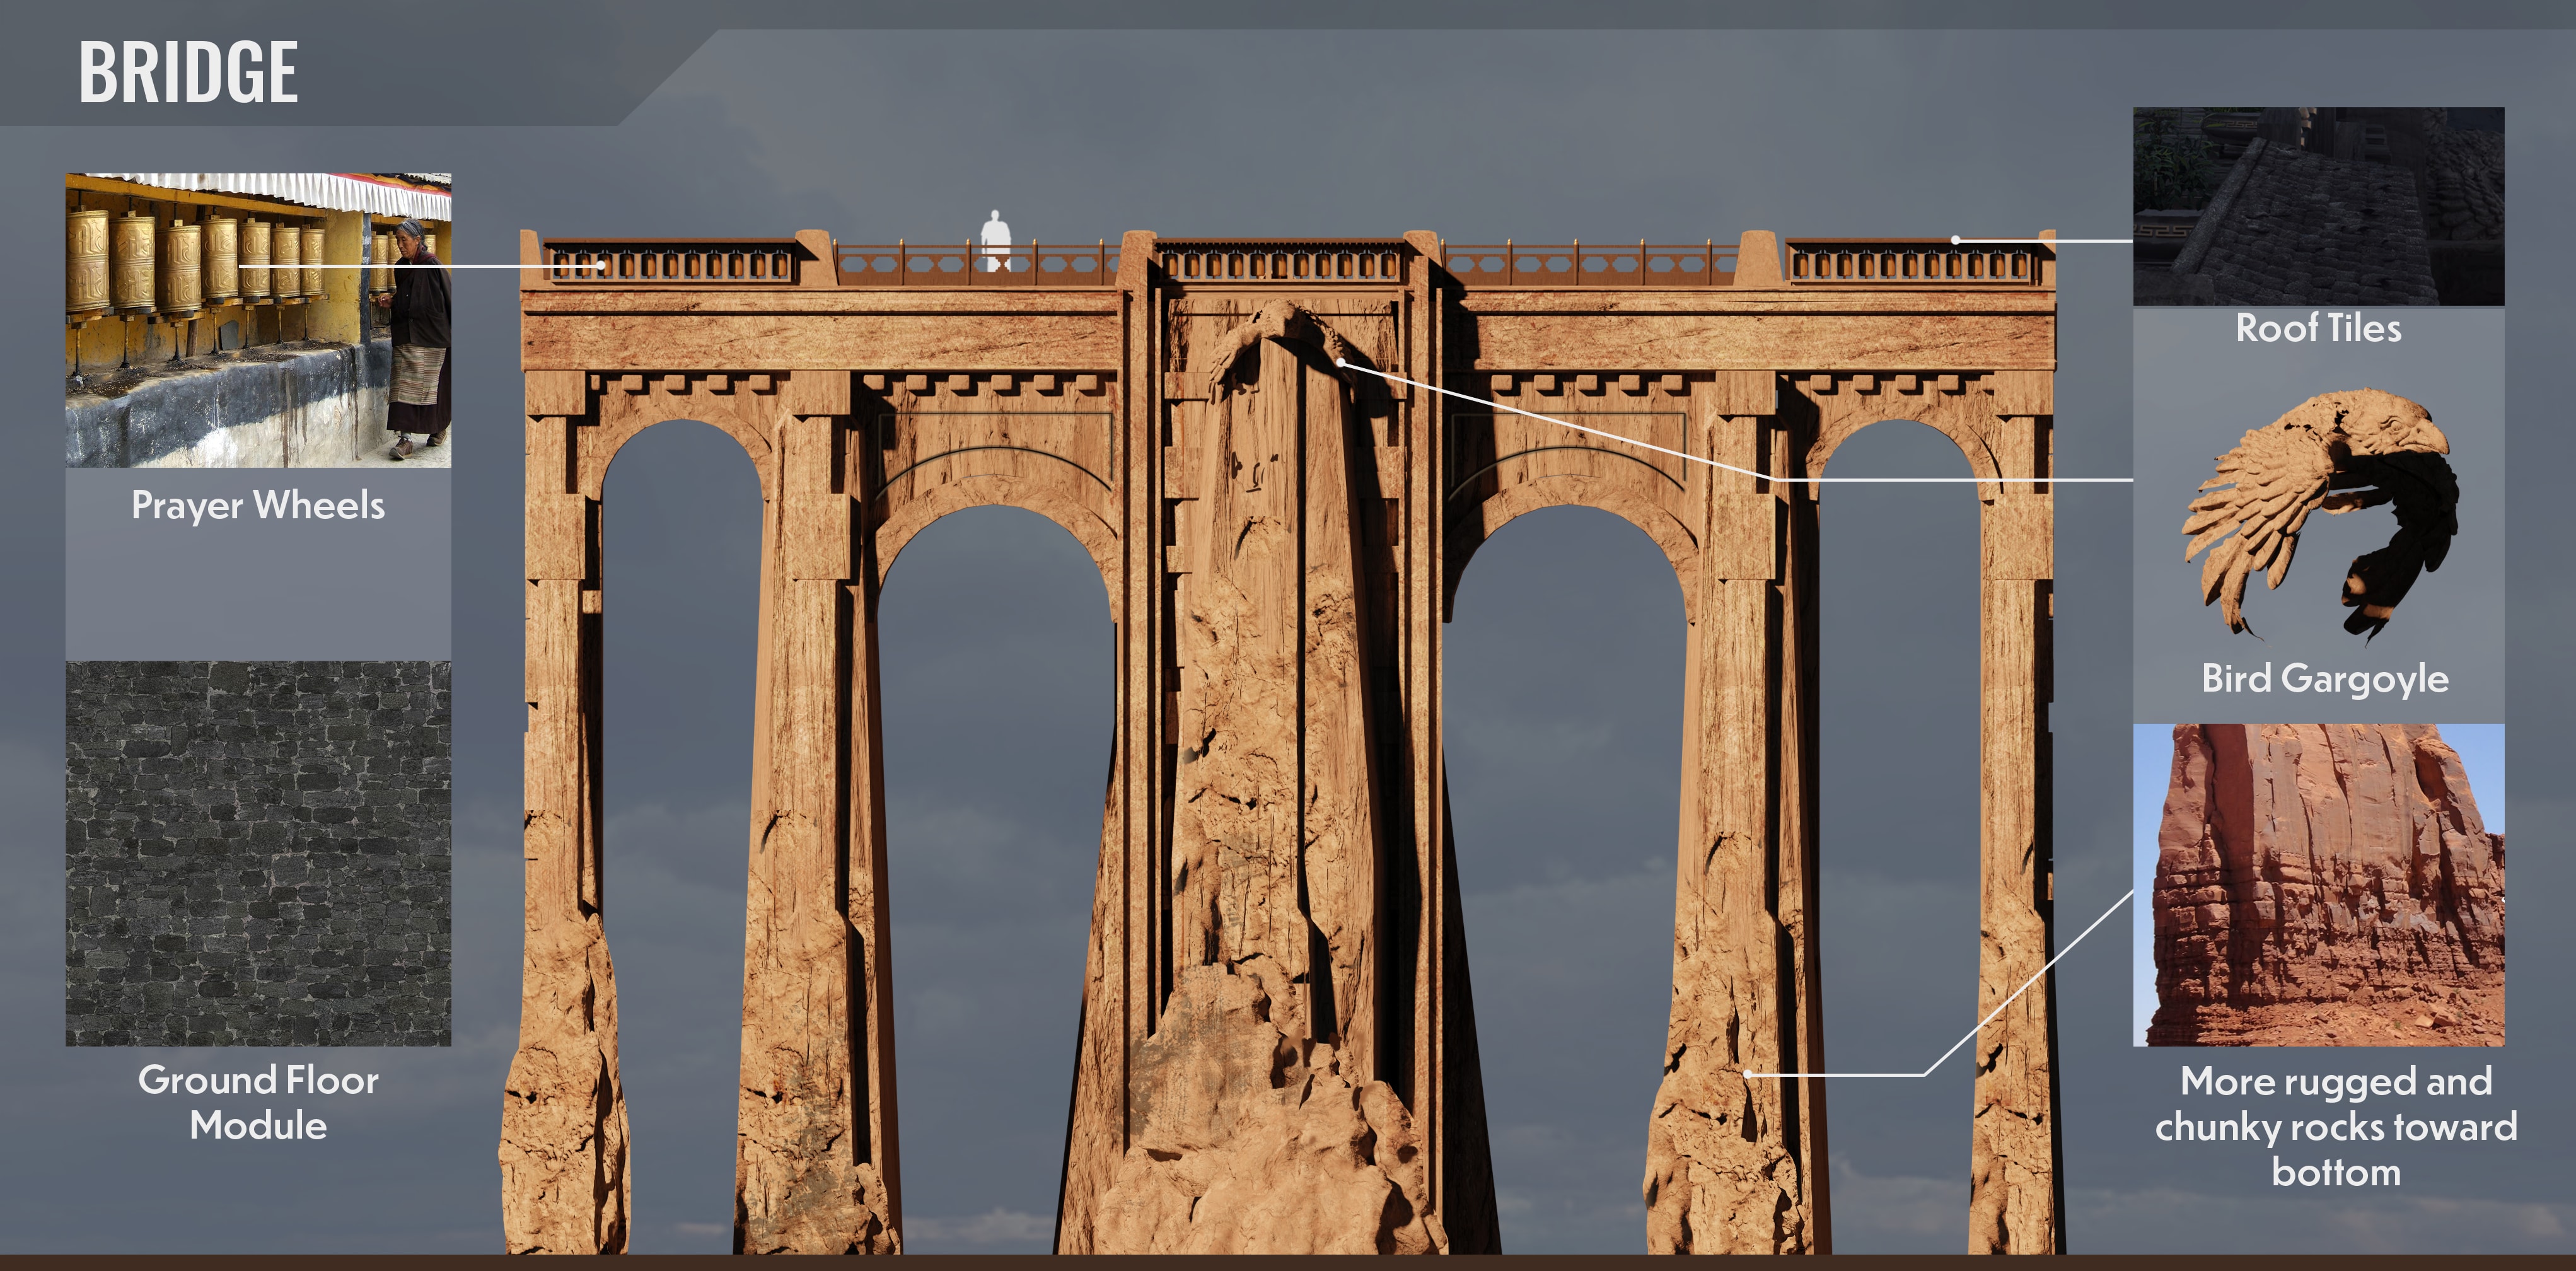
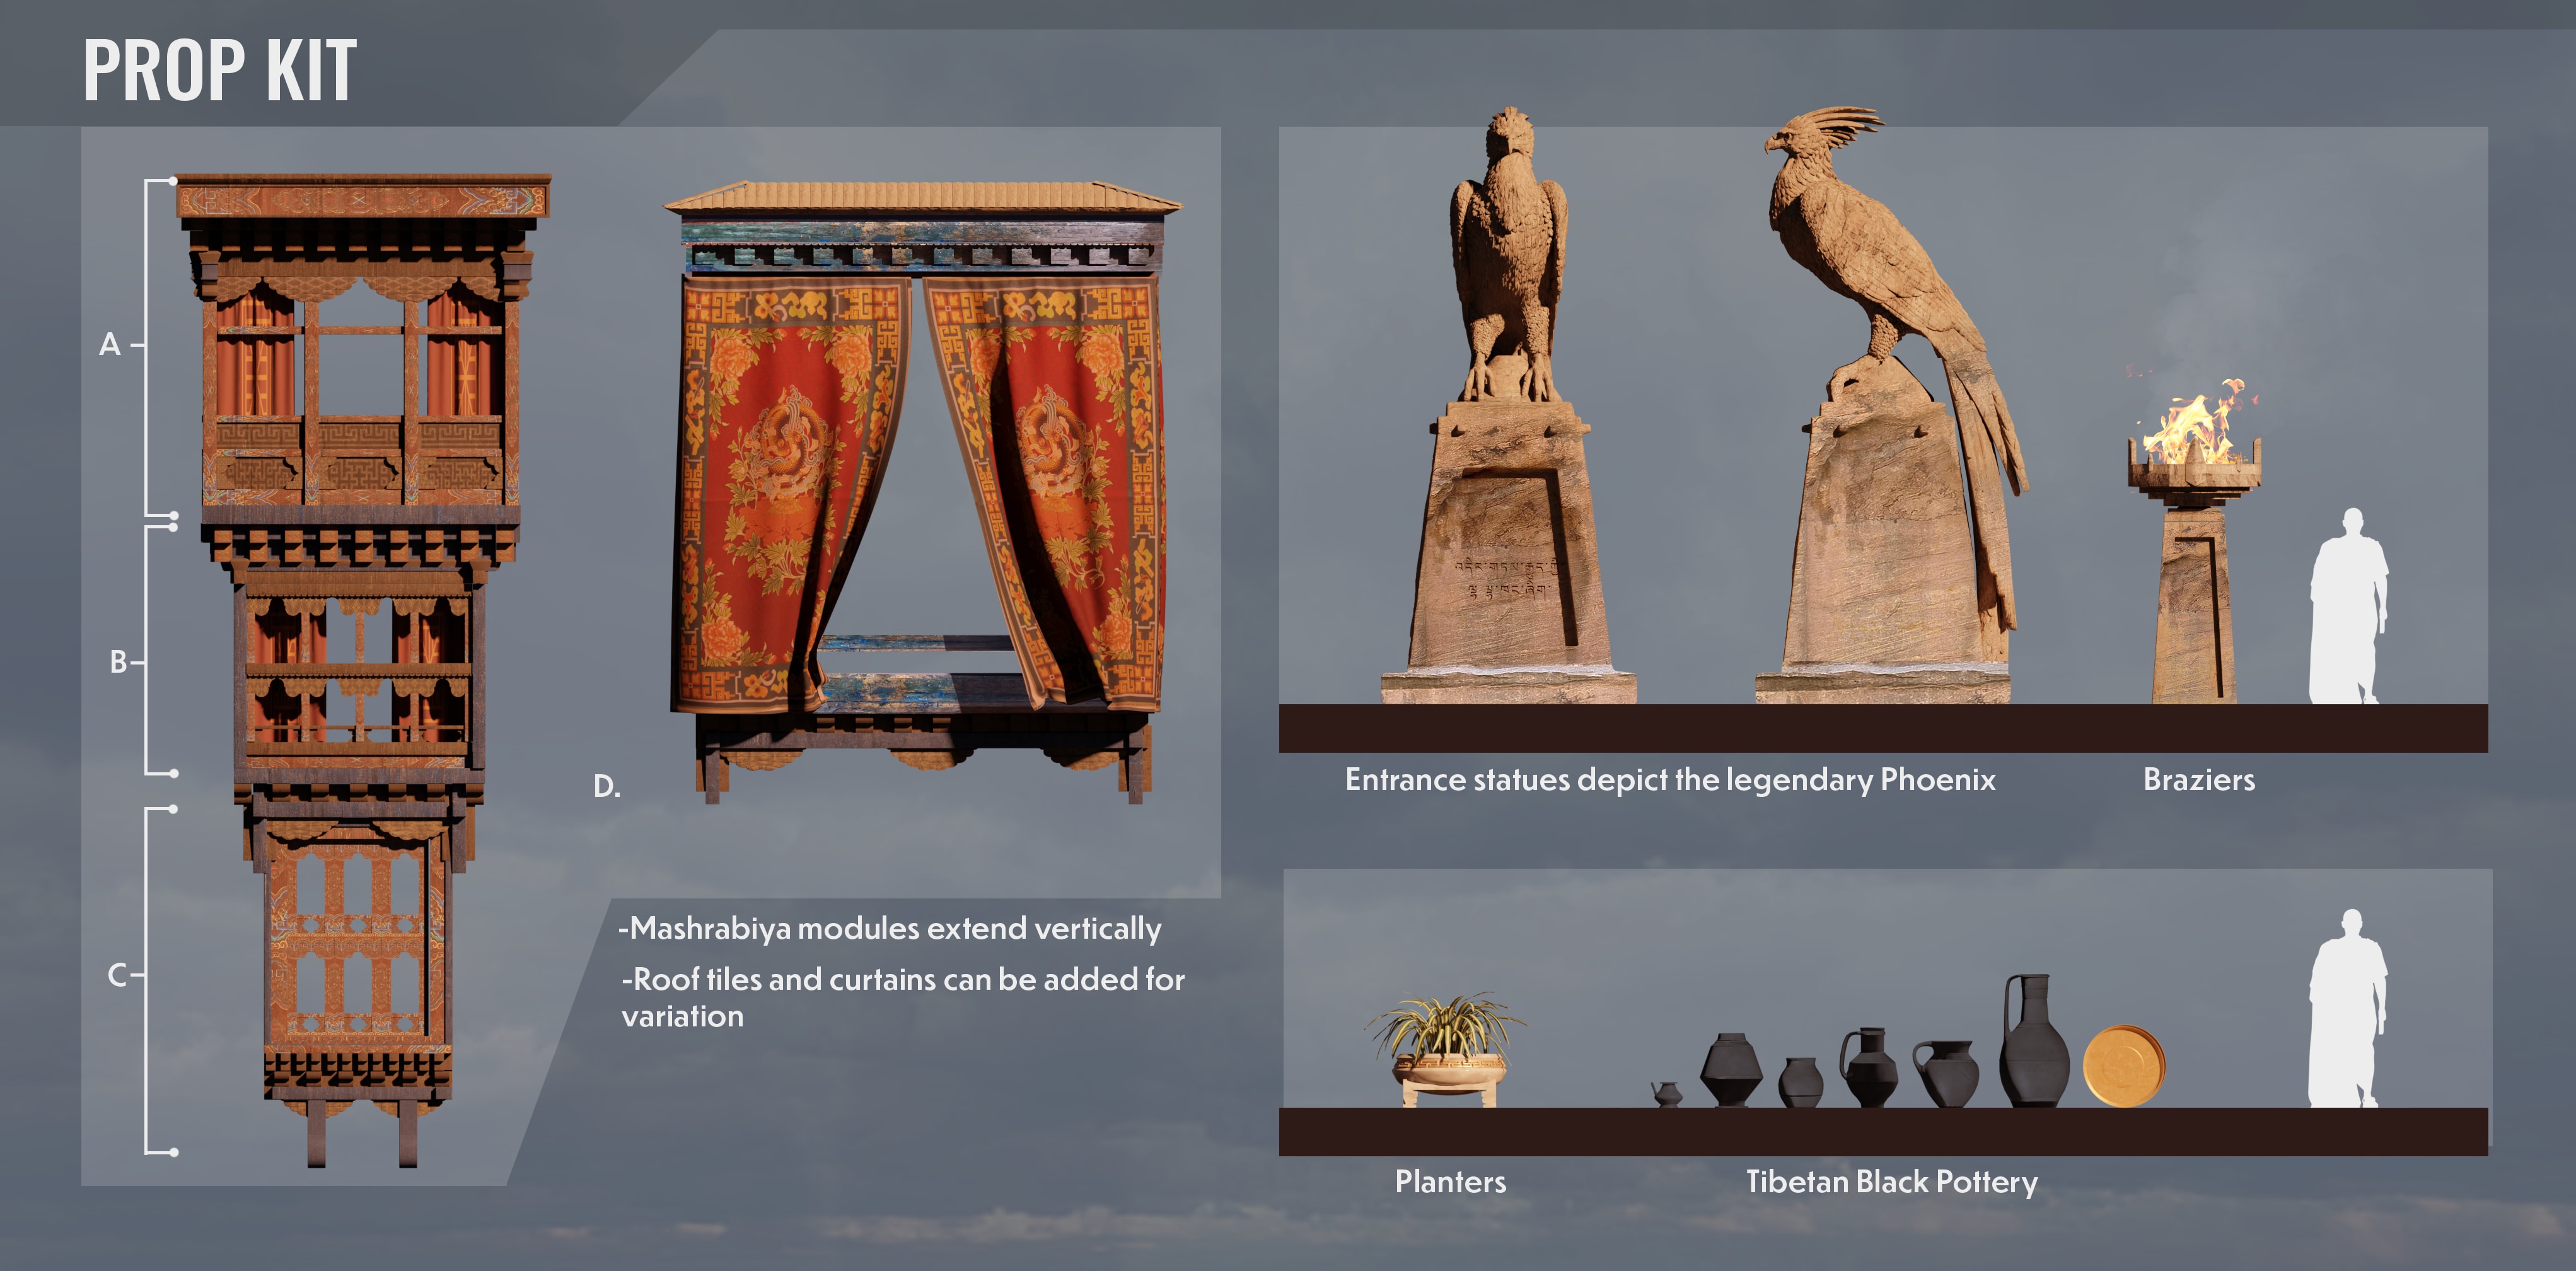
Now that the main concept is complete I’ll think of options to enhance it with some supplemental work. This is something that changes from piece to piece. It can be subsequent concepts that make a storyboard sequence, design sheets to show the function of a prop, anything that I feel the viewer can benefit from with more information. I like to show my work with moodboards, sketches and any relevant callouts. Then I get everything prepped to publish online.
Thanks for taking a look at my work and appreciate the interest in my process!